For the final project of the VSFX 728 class, I decided to tackle something that involved somewhat large destruction, since, I need to challenge myself, and It’s something that I’d like to have on my reel and I’d learn a lot from it.
One of the main goals was to have something with different layers of materials, for example, glass, wood, bricks, and such. Instead of just breaking a big chunk of a one material wall or something like that.
Browsing online for inspiration and reference I stumbled upon a medieval watchtower in Hannover, Germany, the Döhrener Tower. A building from the 14th century that looks really interesting, and pretty and has enough detail that would work and look pretty if destroyed.
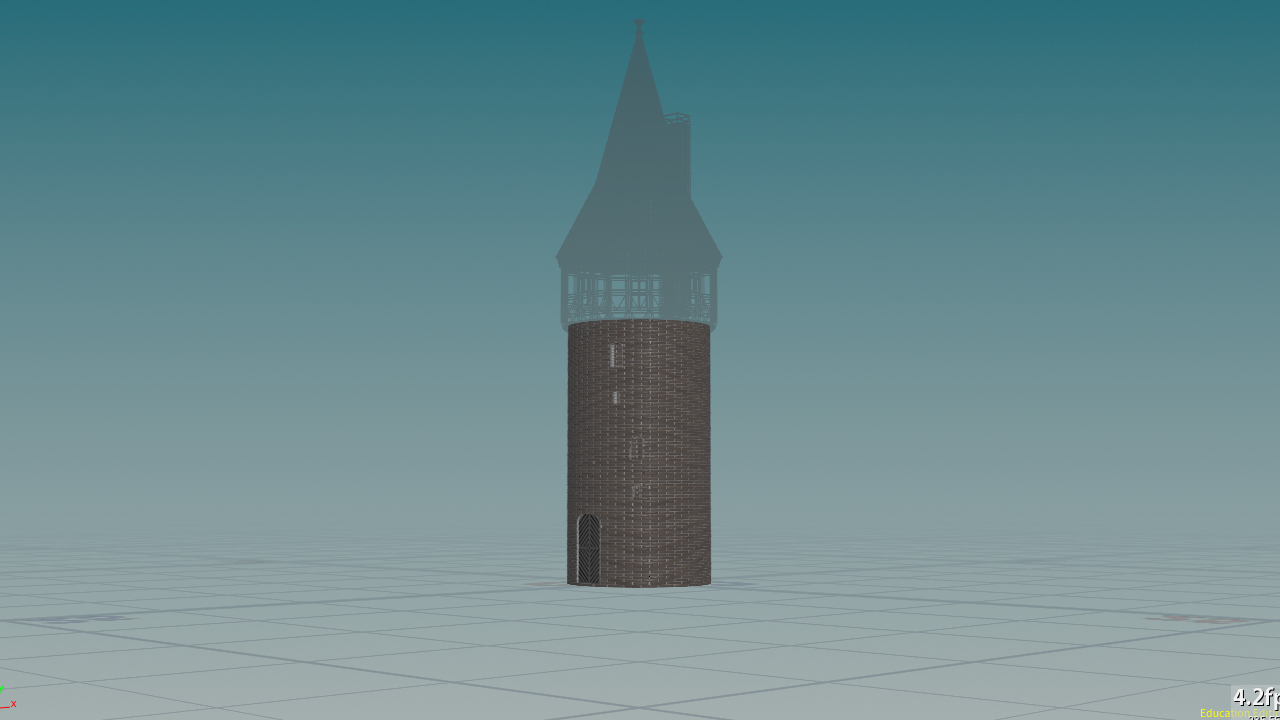
I started this project by blocking out the overall proportions of the tower in Houdini. I tried to aproximate the measurements by using the door as reference, as well as the top living area to get a sense of how tall it was. Paul and Luiz for scale reference 😁.
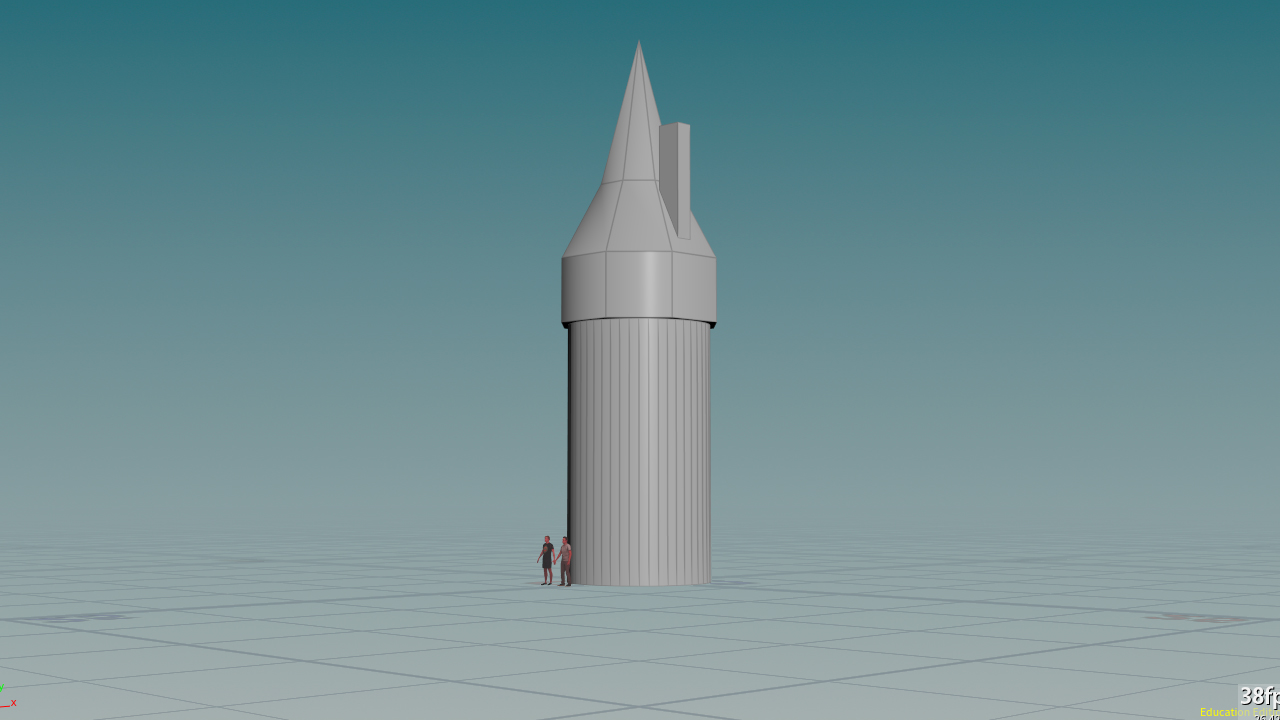
Then, I started to model the hero tower. I separated the tower into three main sections:
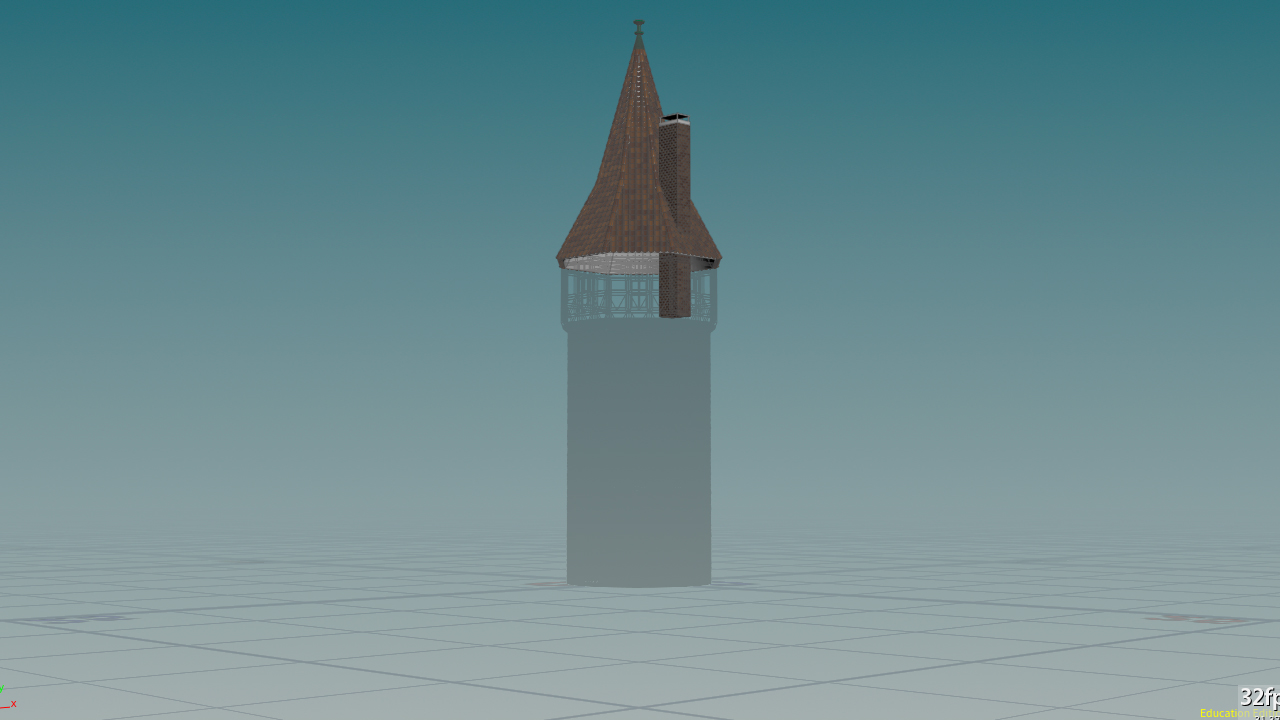
- The roof with all the tiles
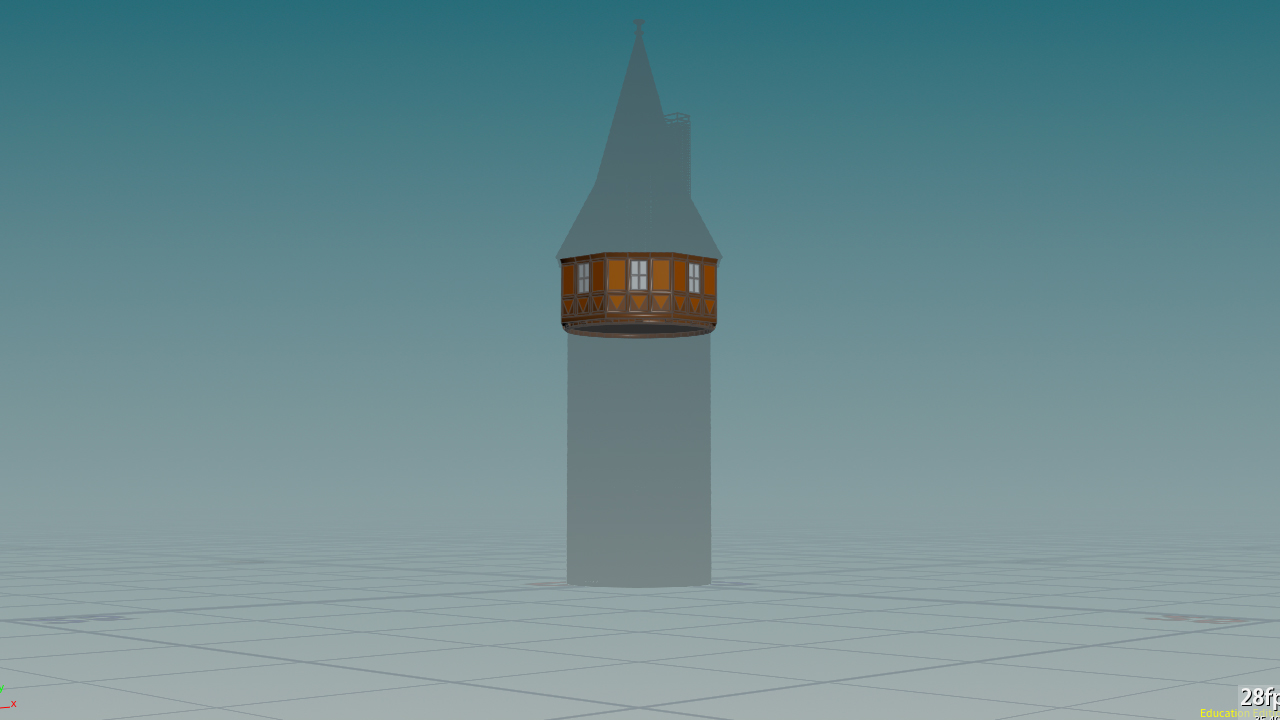
- The main body or living area
- The tubular base
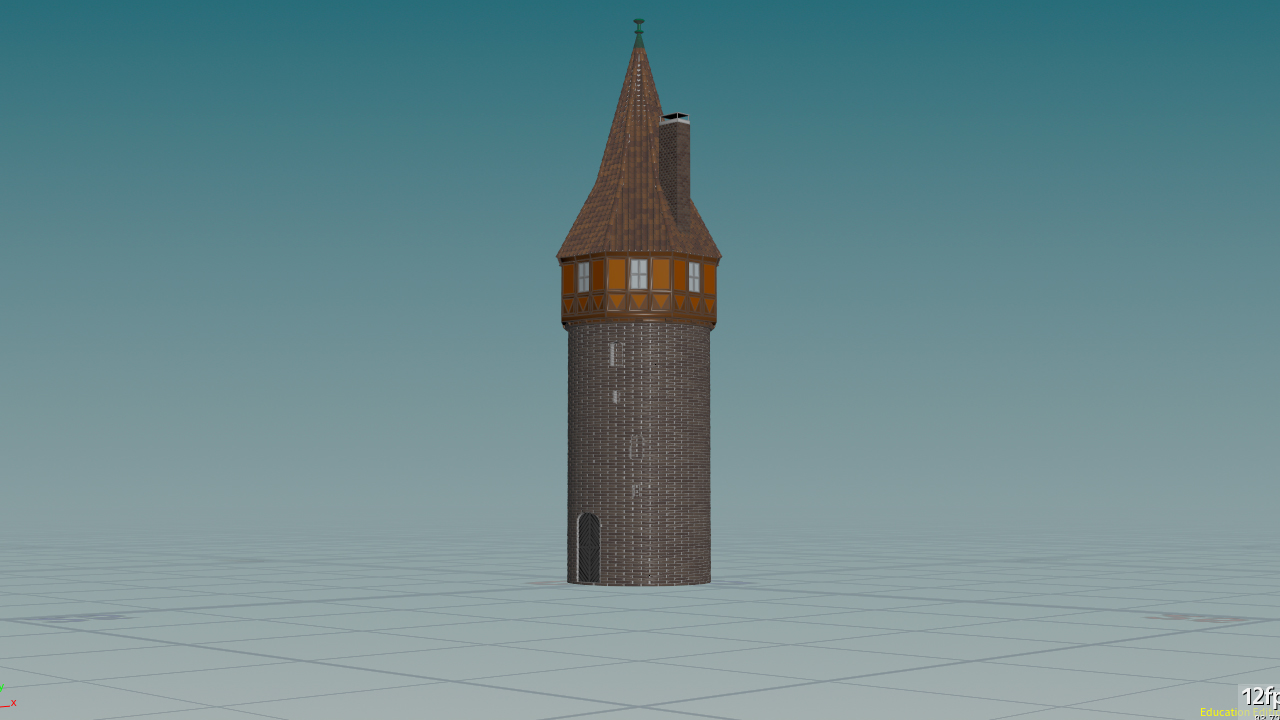
For the roof, I extended the chimney to the interior, in hopes of making it have some more interior detail and realism. Hopefully this will enrich the overall destruction, once the simulation is actually run.
If you look carefully at the image, you can see that the tiles still need some work to get rid of problematic interpenetrations, which is something that I will have to address with great care. This to make sure Bullet takes the pieces and they don’t explode.
The main body was very straightforward with me modeling one of the faces and then having them revolve around the general octagon shape of that part of the tower.
Pre-Fracturing Process
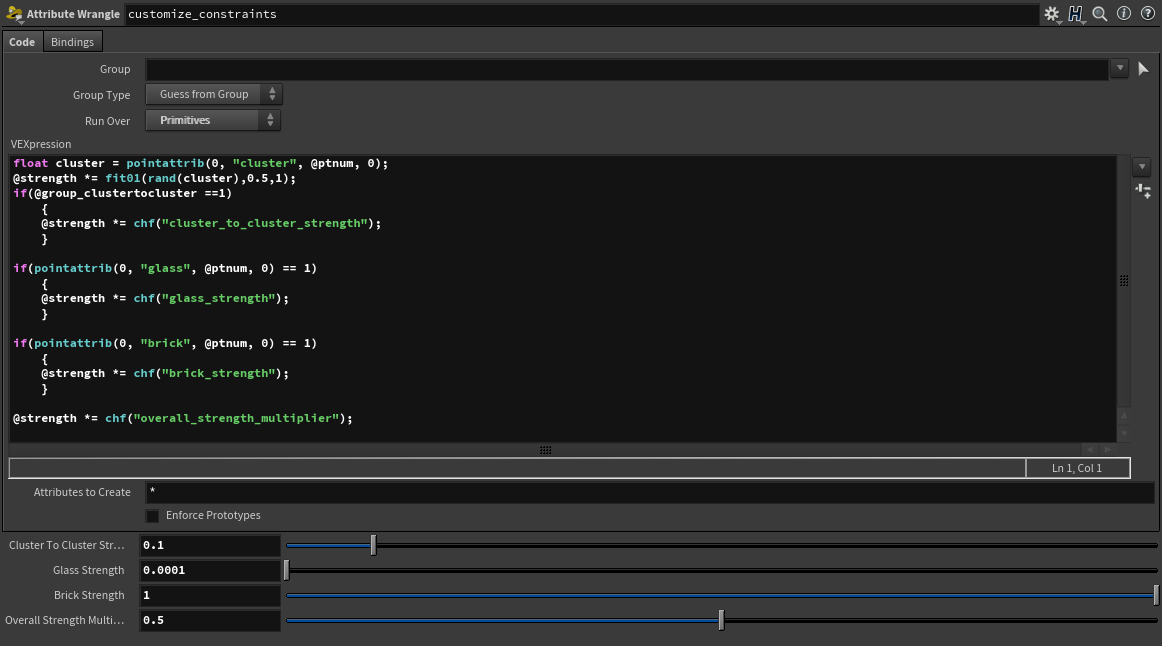
After finishing the tower model, I took each section and fed its components through custom for each loops to fracture the pieces. Through this method I could customize and have more control over the shape and amount of pieces each component would generate.
Constraint Setup
Through the use of a Connect Adjacent Pieces SOP, contraints were created per section of the tower (roof, body and base). These individual elements were assigned an integer attribute prior and was used on a separete connect Connect Adjacent Pieces SOP to connect the 3 sections of constraints.
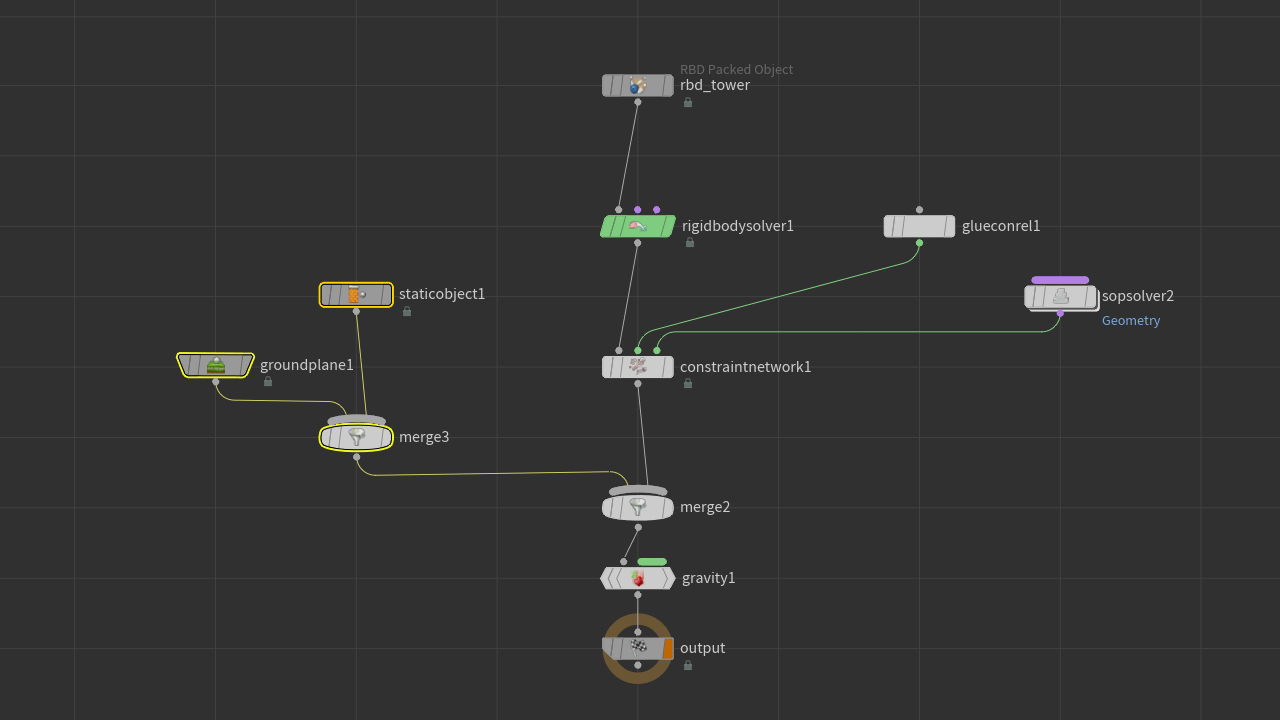
With the tower and colliding objects cached and ready, I put in place the main RBD simulation. The setup is pretty straight forward: An RBD Packed Object for the tower, connected to a Rigid Body Solver and a Constraint Network with Gle Constraints.

After many, many oh, so many tests, I locked the simulation and cached it out. From that cache I used a Debris Source SOP to generate points from the breakage of the tower.
I converted these points to a fog VDB to pass them as dust. In this step the color is lost. To get it back, a second VDB is created through a Volume Rasterize Attributes SOP in which I rasterize Cd to a volume. This new VDB is then combined with the fog and through the shader, it gives the fog its intended color.
Rendered Result
There are many aspects of this project that I’d like to be able to tweak in the near future to improve upon the overall architecture of the tower as well as to fix erros here and there in the simulations. And Finally, I would like to haver a better defined dust simulations, but unfortunately I ran out of time and the deadline came too soon.
Even though I panicked a lot during this project, I learned a lot from doing this and feel partially satisfied with the current result.