It’s been a couple of days since we showed our progress to our mentors at The Mill. Since then I focused on refining the tractor beam forces of the second shot. Thanks to this I was subtly reminded (like being hit with a baseball bat in the face) how little I know about dynamics within Houdini. But hey! I did a lot of RnD and learnt a couple of new things thanks to trial, and piles of error, and a couple of rookie mistakes (it’s even embarrasing, when I think about it). But well, I’m doing this to learn more, and become better, which I guess I’m doing!
Let me walk you, dear reader, through the fixes changes I made to the original version.
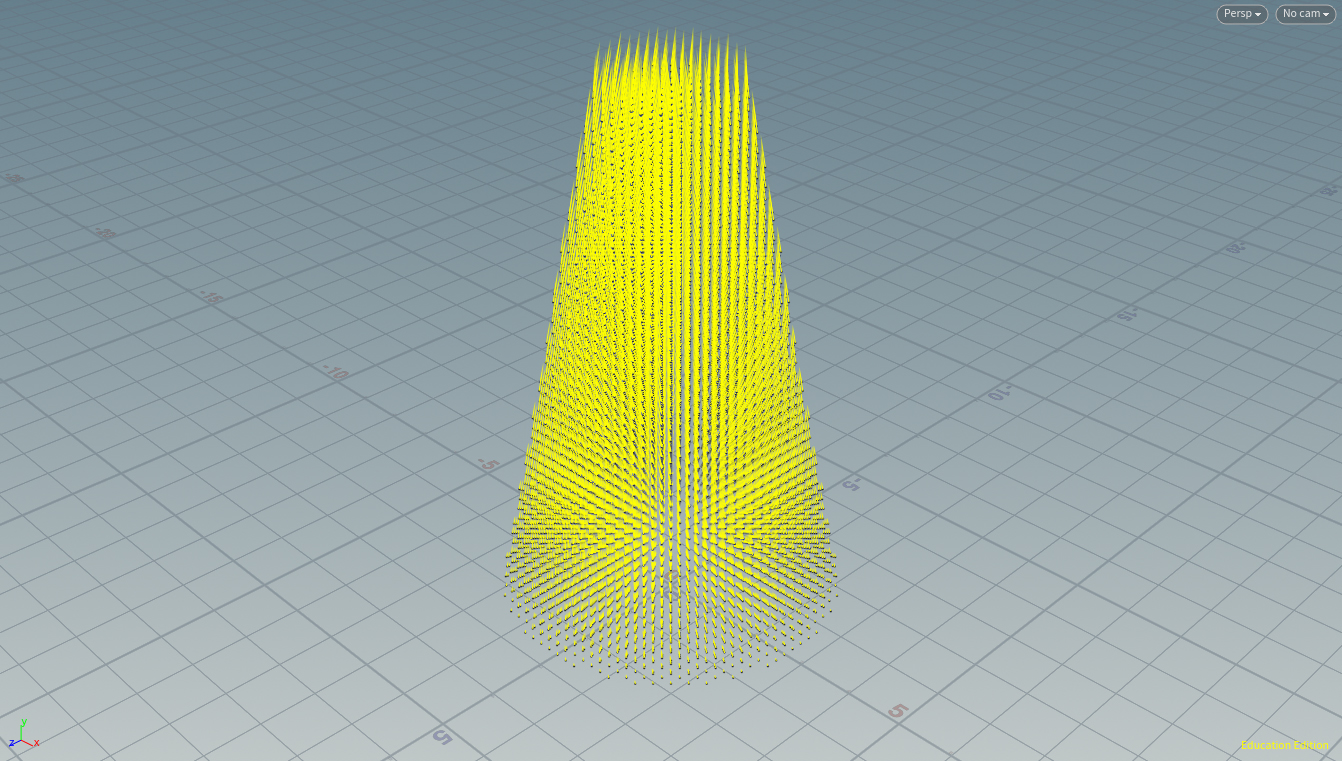
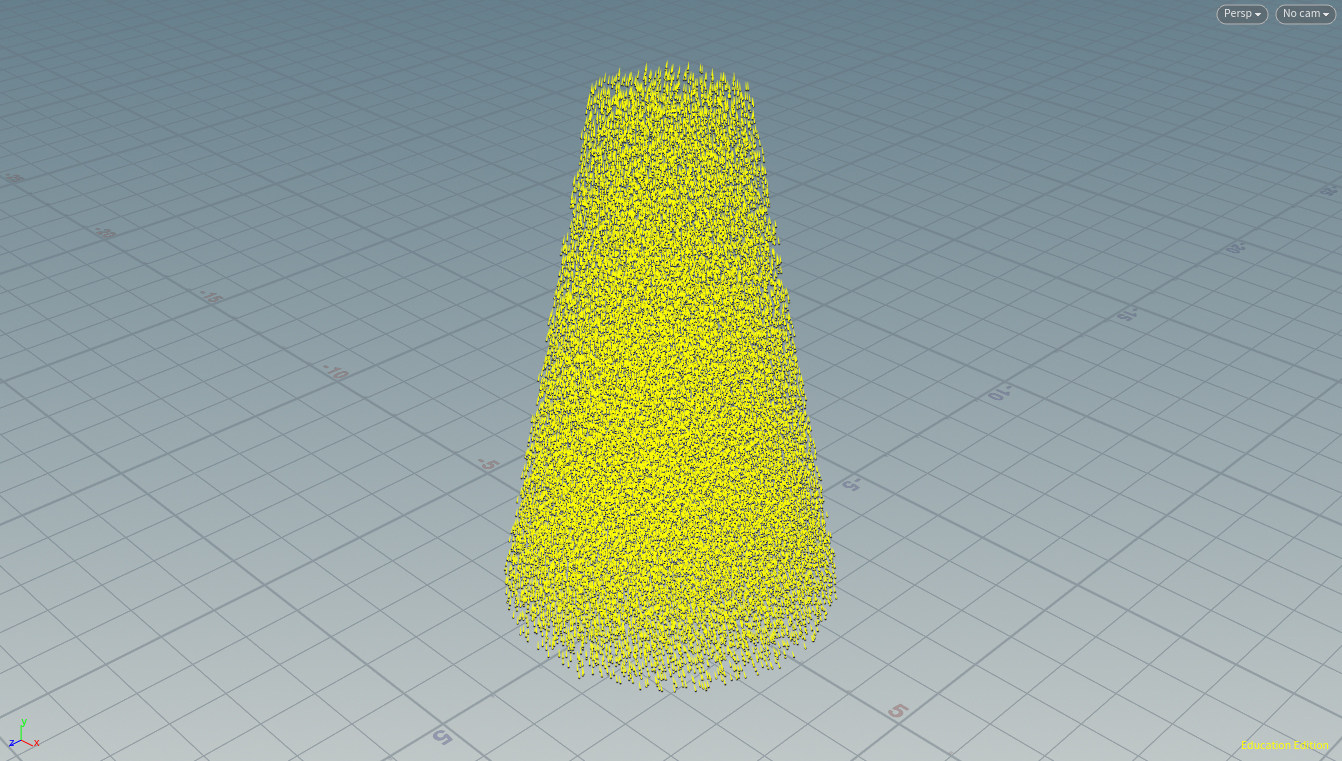
Adjustments to the Conical Force
I made a couple of tweaks to the force field generated by the cone of points. One of those was adjusting the overall intensity as well as getting rid of a decay in force by height. Closer to the car meant weaker force, and closer to the UFO meant stronger, this created an unnecessary acceleration. The beam (in this sci-fi microcosmos) has a constant velocity.
The volume of points was also made somewhat denser and more random to increase resolution, although I’m not completely sure if it made a difference or not. Again, a display of my current ignorance.
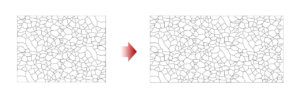
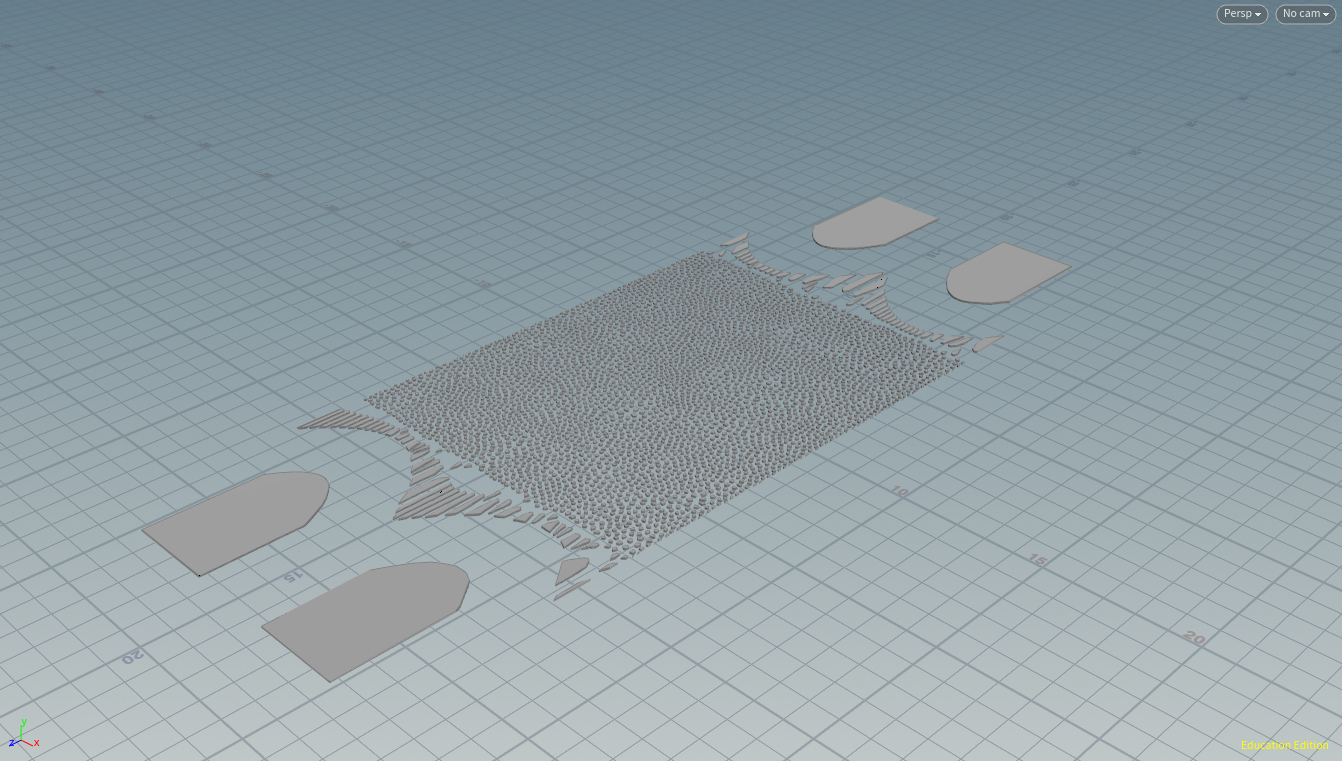
Road Refinement and Clustering
I replaced the geometry I was using with a brand new bent road (it’s subtle. Hopefully this will help with the overall look once it’s fully developed by the rest of my teammates). Optimized its fracture by trying to have fragments only where they are needed. So it’s basically a portion of small chunks in the area of influence of the beam, surrounded by larger chunks, left and right from them.
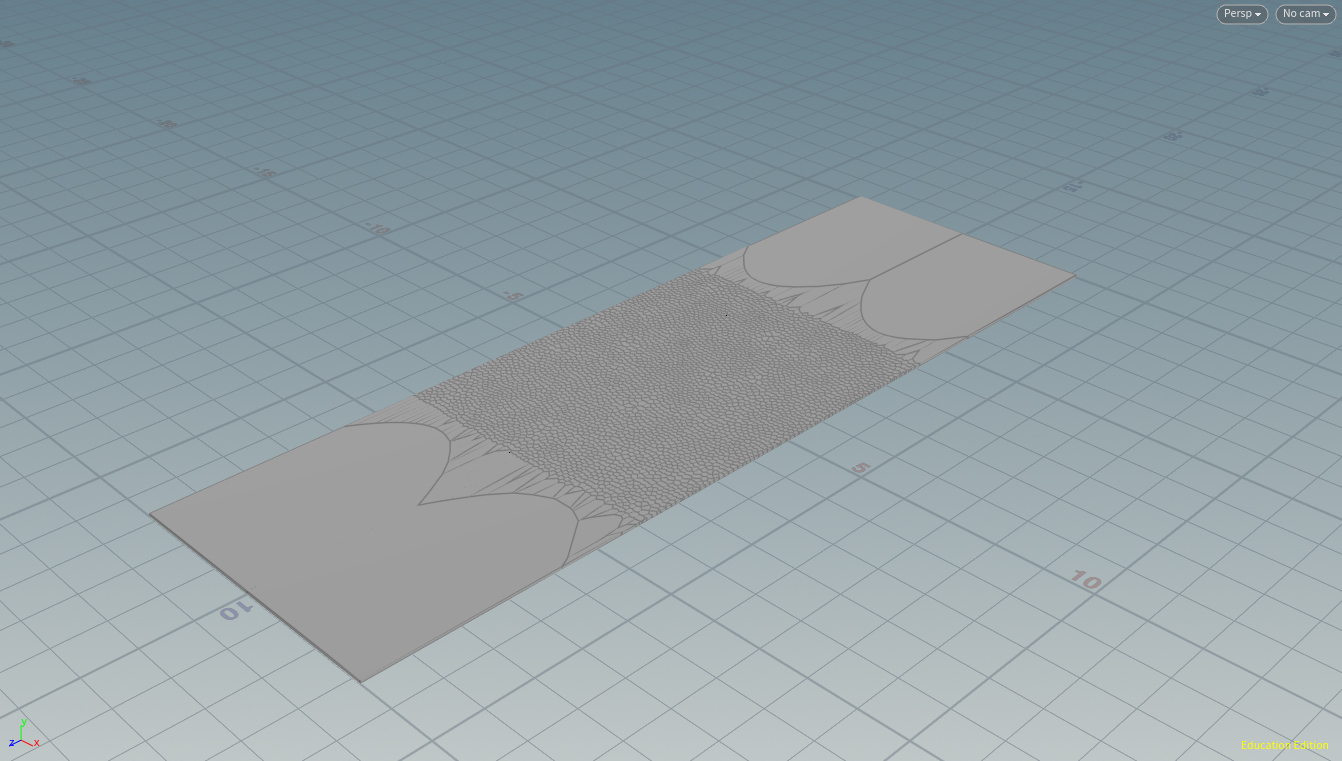
I don’t remember if I mentioned this before or not, but I don’t trust the material fracture node. It’s too slow, and if I wanna make changes and I dive inside, I panic by its complexity and dive out immediately. So, for theses fractures I used the good old voronoi fracture and right after, I added an RBD interior detail node. now the inner faces have some rough detail.
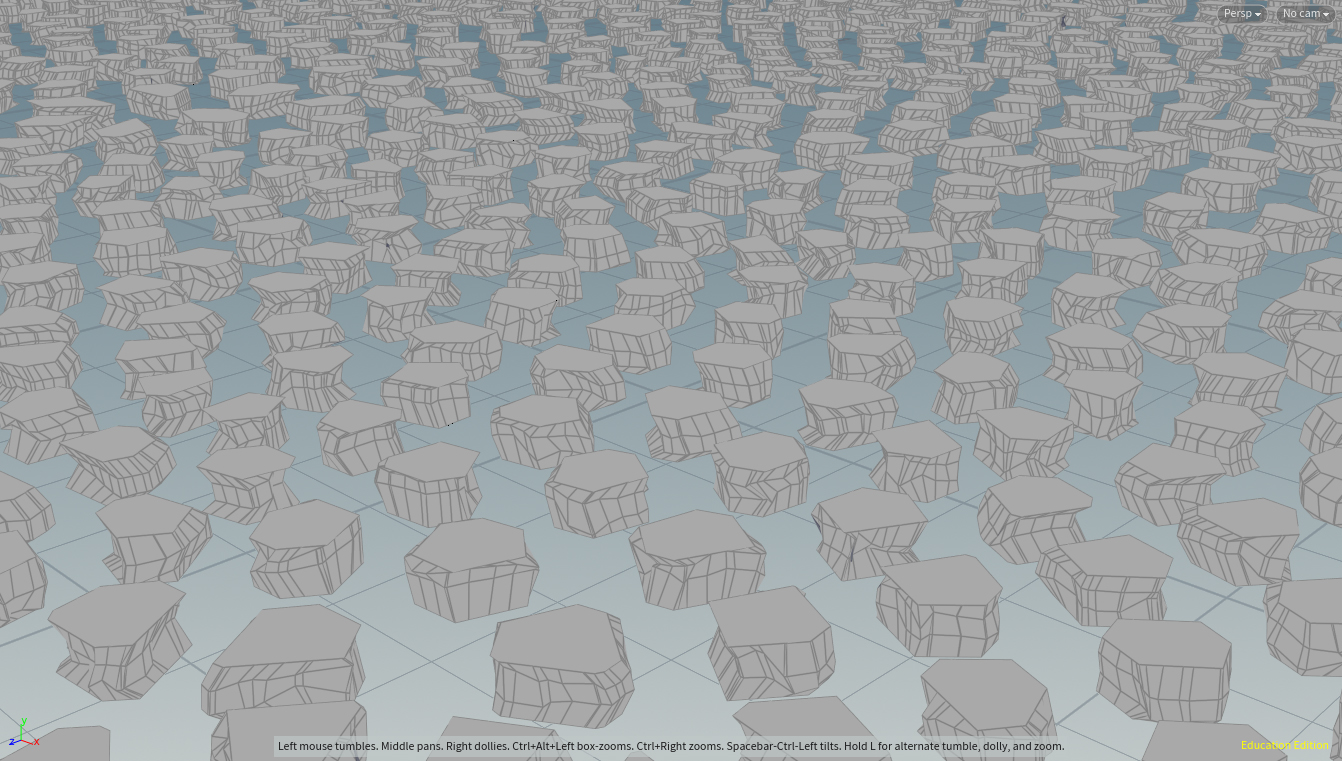
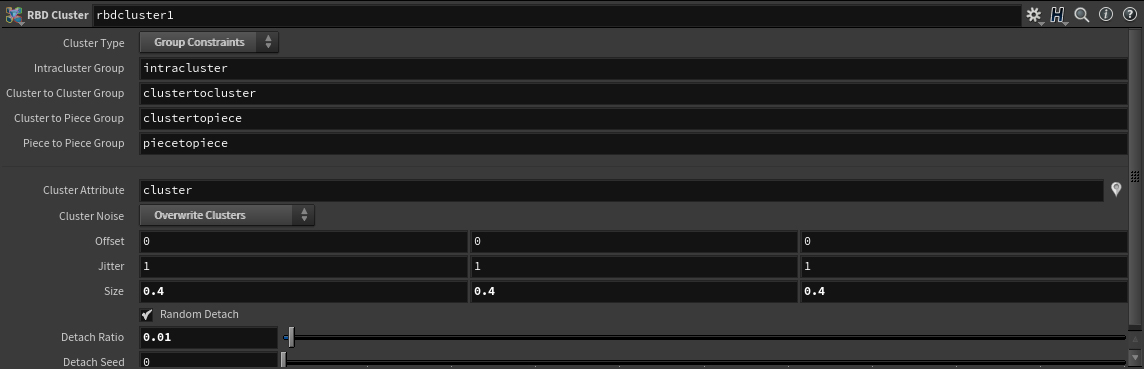
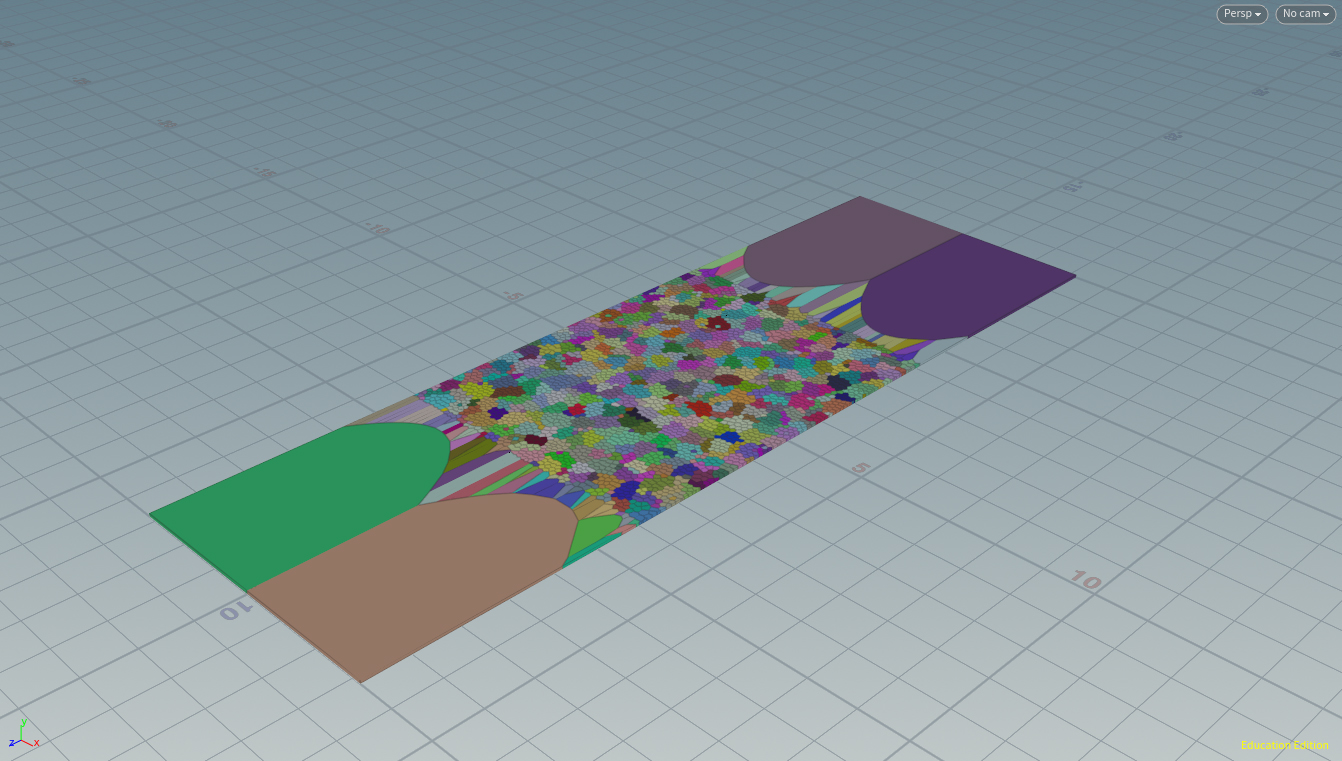
This clustering makes the larger chunks of asphalt, giving them a little bit of irregularity (granted, it still looks like it needs lots of care, but that’s something for a next pass).
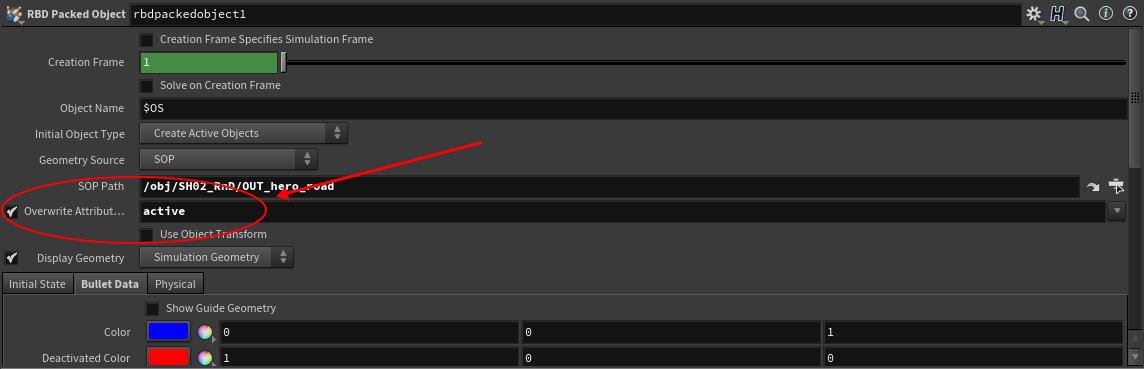
@active Became my Best Friend
I didn’t know that in the RBD packed object you can easily set the active attribute to be updated by the SOP geometry. This was very useful, since with the help of a point wrangle I could start the whole thing with a few active RBDs, and over time make them active to be part of the simulation one after the other. This is how I achieved the effect of having them tear off one after the other.
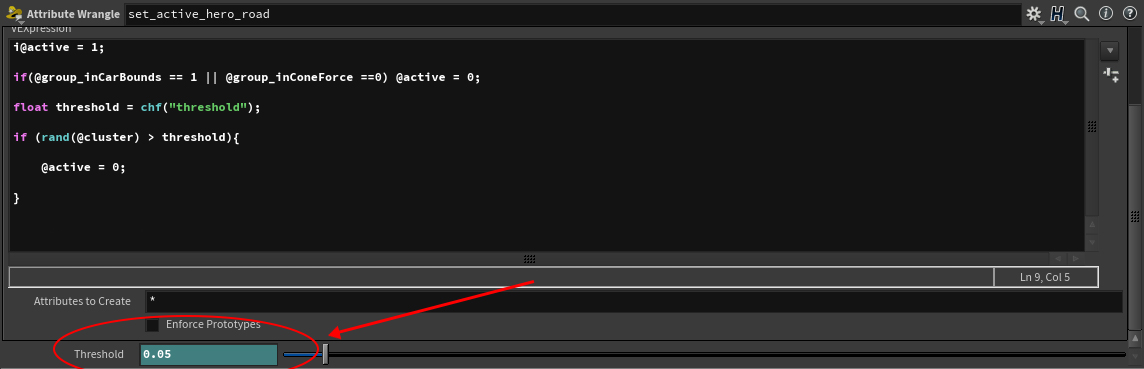
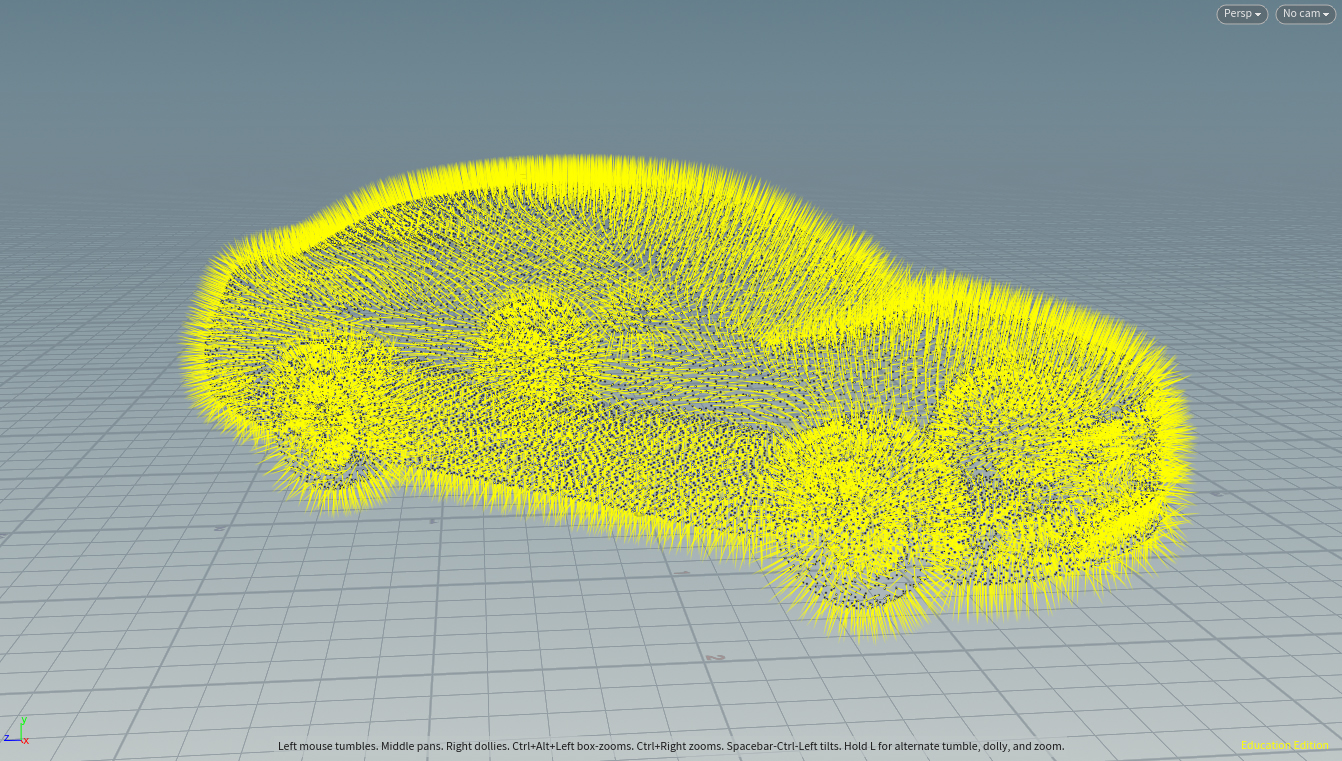
As you can see in the following GIF, the clusters start to become active. Active clusters represented in red.
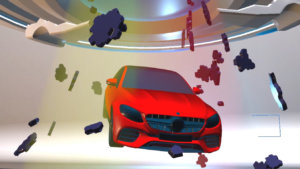
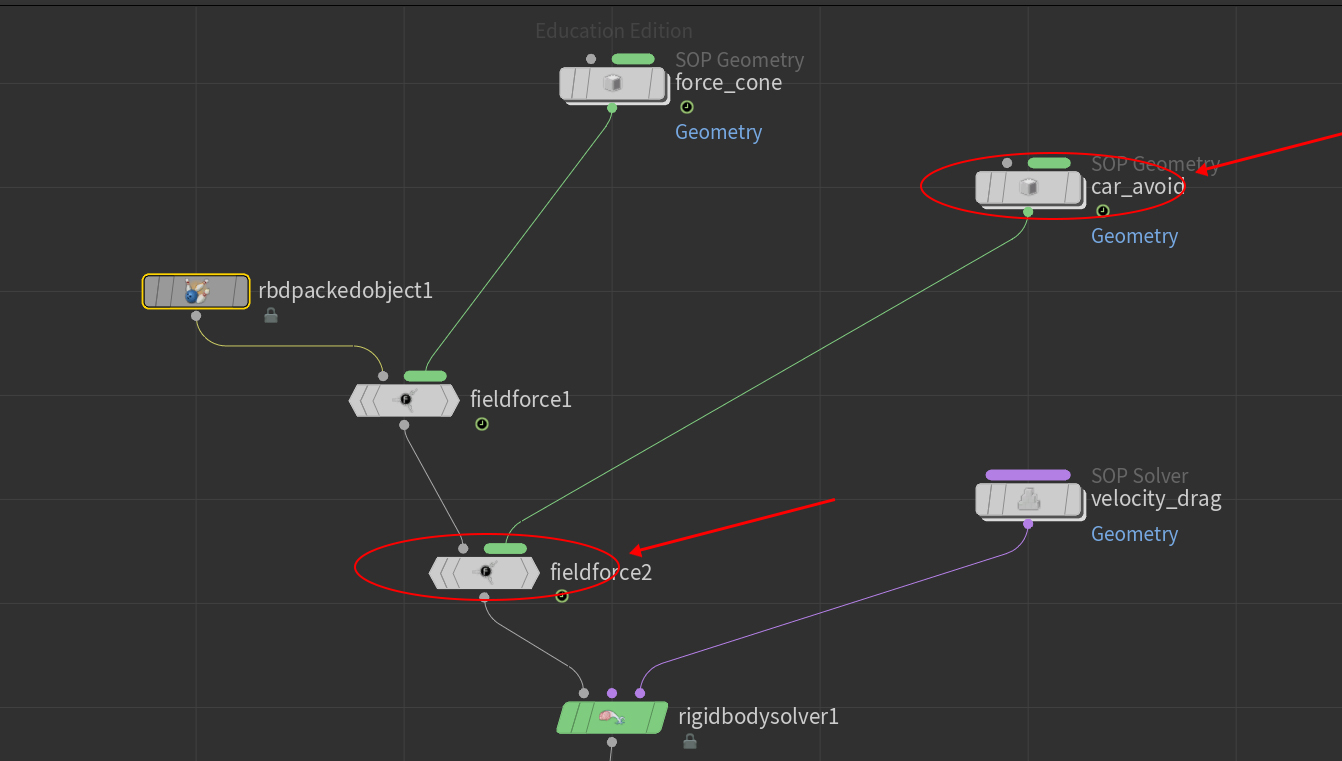
Car Avoidance
The final thing I was able to work on was creating a way to avoid the car. I scattered a bunch of points on the car, and gave them an outwards force from the geometry normals. Then I put them into the DOP network tree in the same fashion as the beam cone. I had to fine tune the intensity of the force to make it effective. After that, it worked. Pretty straightforward to be honest.
There are a couple (a lot, maybe) of things that need to be improved. But for now, I’m happy I could get to this point. I don’t know if you noticed in the video at the top but some of the pieces stop mid air, and funny thing, I found what the issue is while gathering the media for this post (has to do with the active attribute). So, next time I work on this, I’ll address the problem, but thanks to keeping a record of the process on this blog!
Alright, I’m tired, had a long hard-work weekend, so this is all I can write for this post. Until next one.