One of the cool things that Houdini gives the user is the ability to iterate on repetitive tasks. What am I talking about? Let me use an example of the current project I’ve been mentioning on each of the previous posts to make my point.
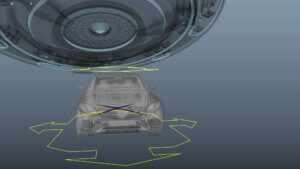
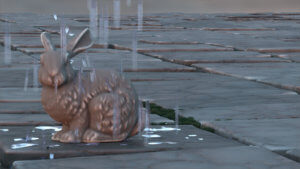
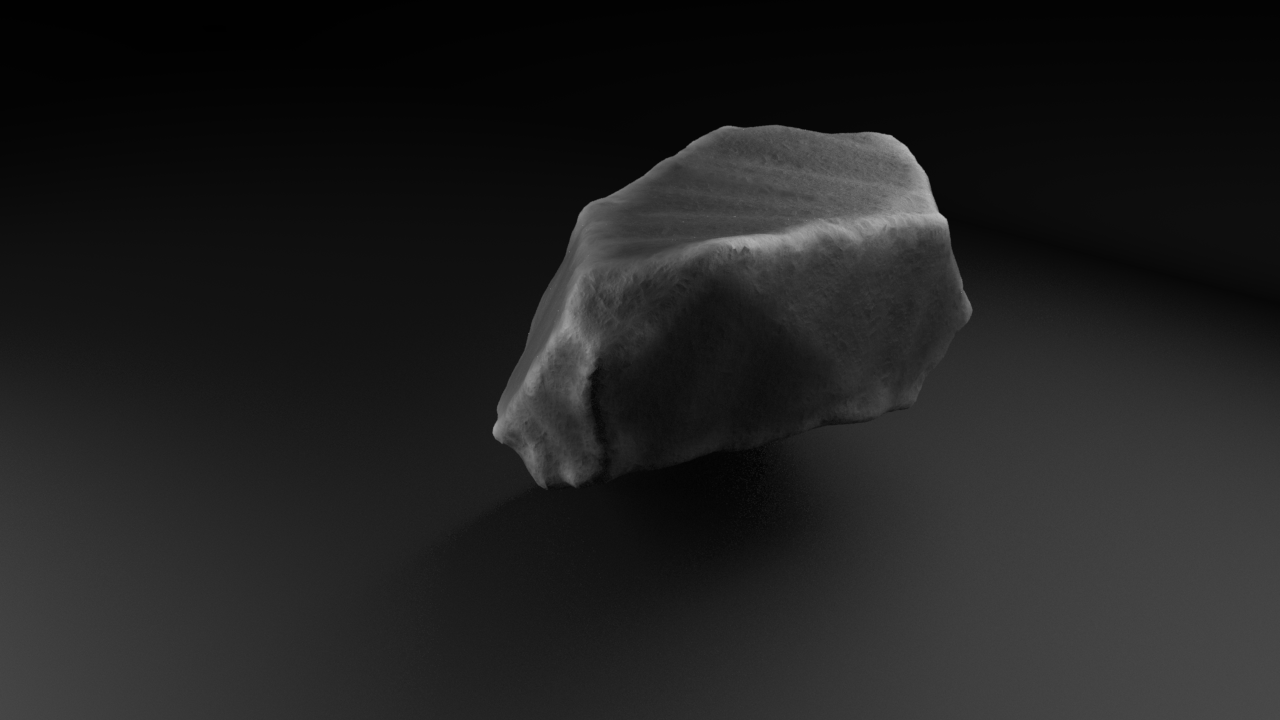
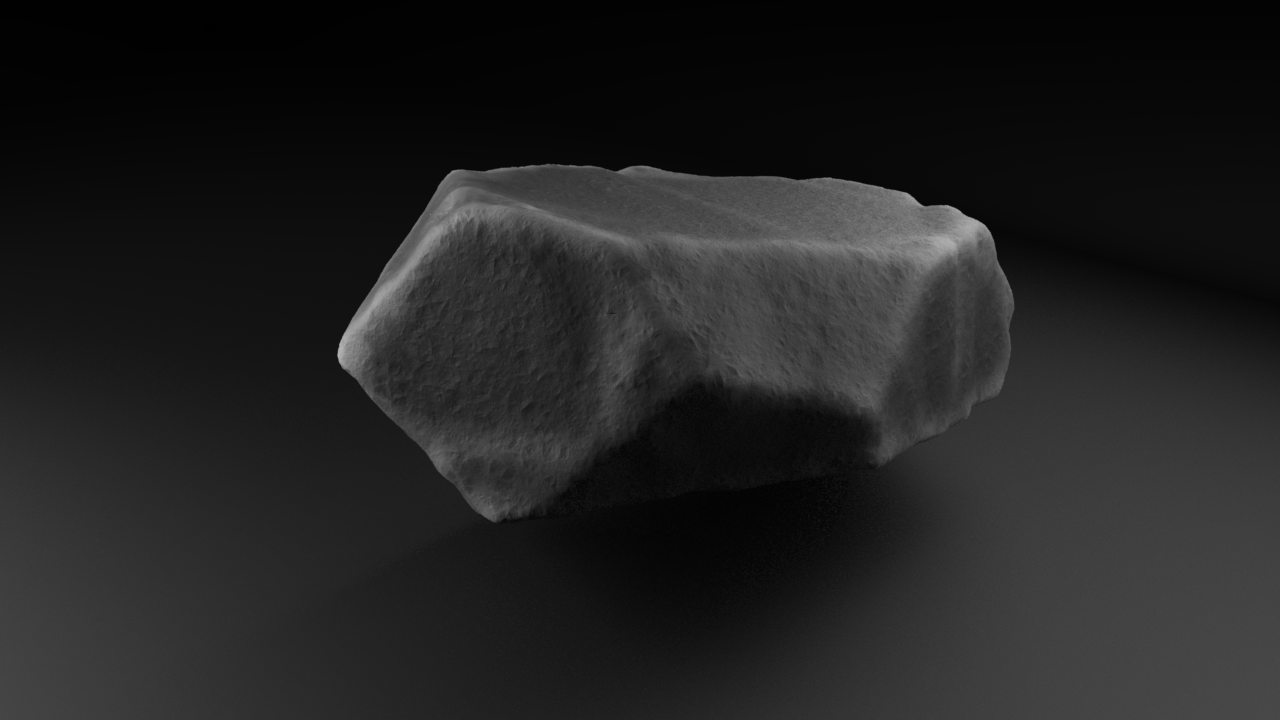
For this project, especially for the first shot, we are gonna have pebbles on the ground. The kind you find under railways. They are gonna start vibrating and some are gonna be picked up by the UFO beam. I wanted to have more than one pebble for variation and believability. Rather than modeling it traditionally in Maya or sculpting it on Zbrush, I researched how to make a rock generator in Houdini. I found this resource online and based on in I made my own version of it, making alterations to the process to fit my needs.
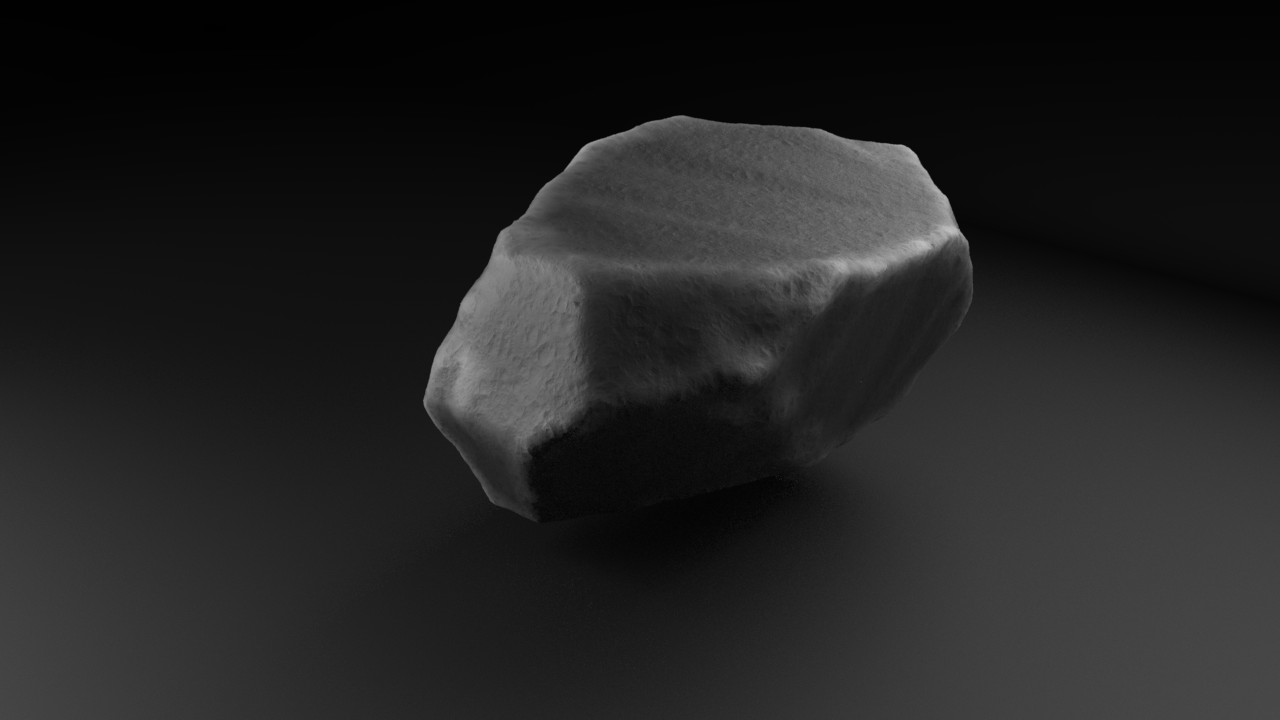
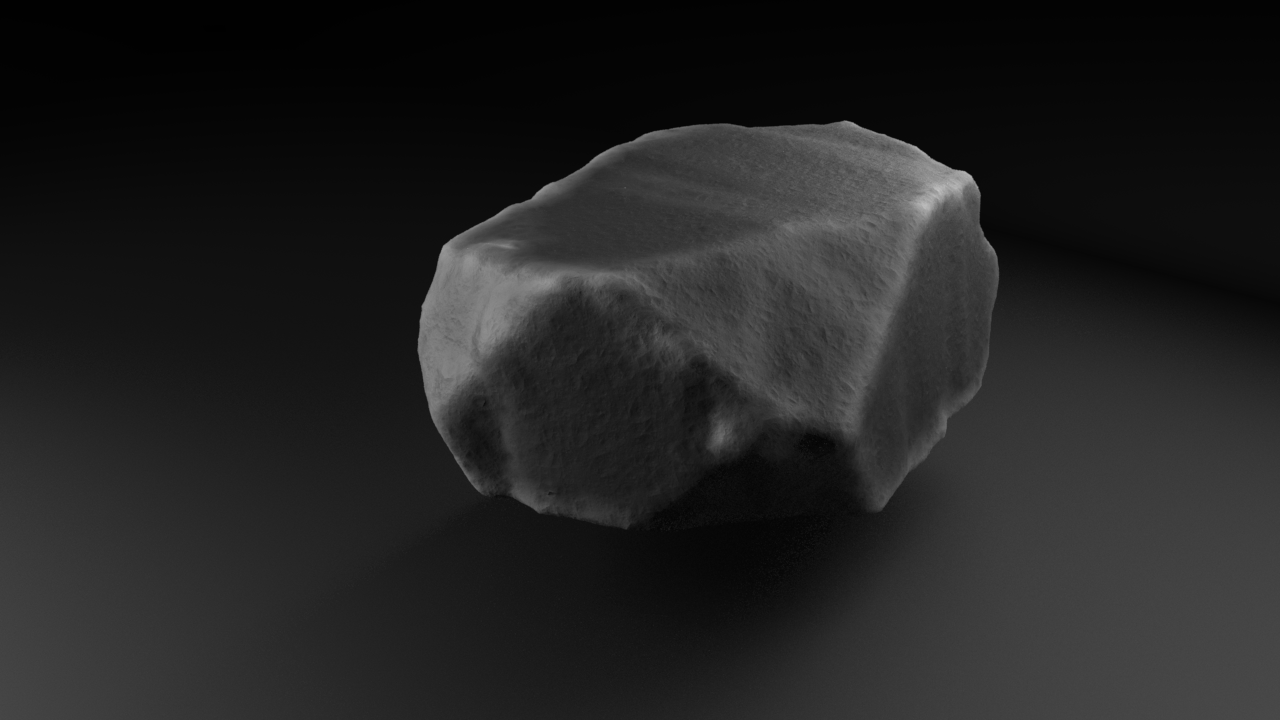
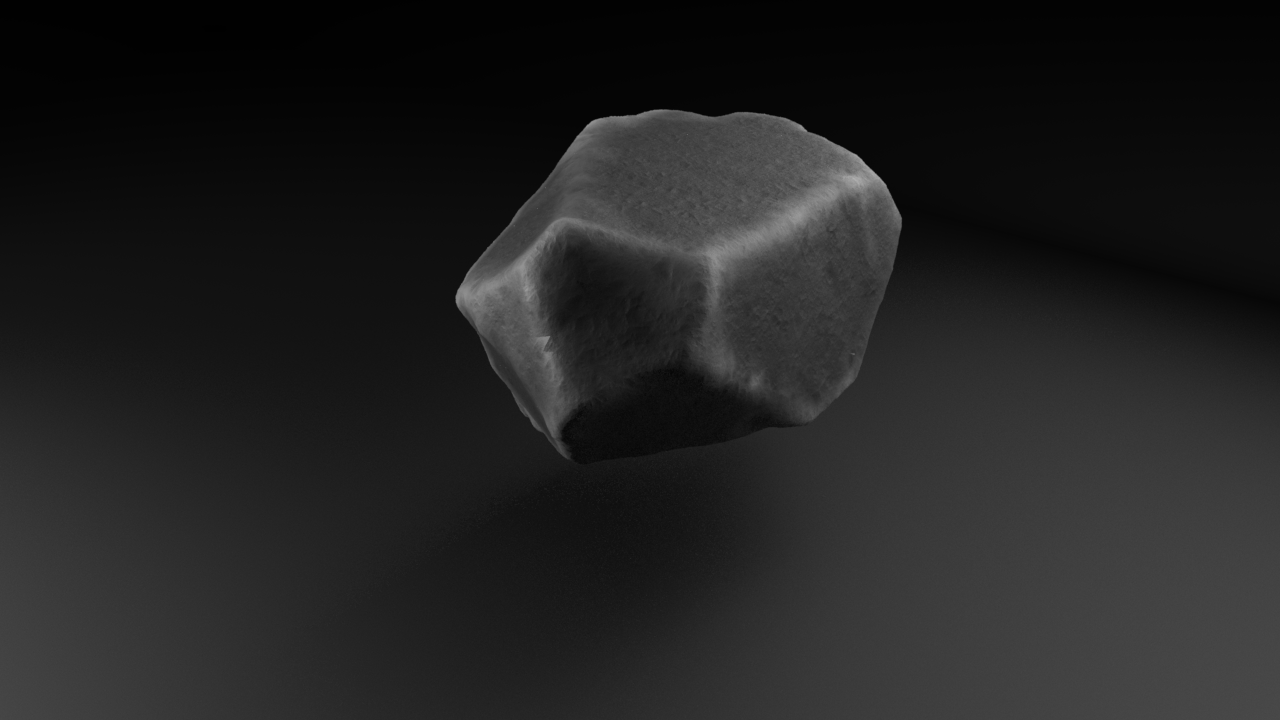
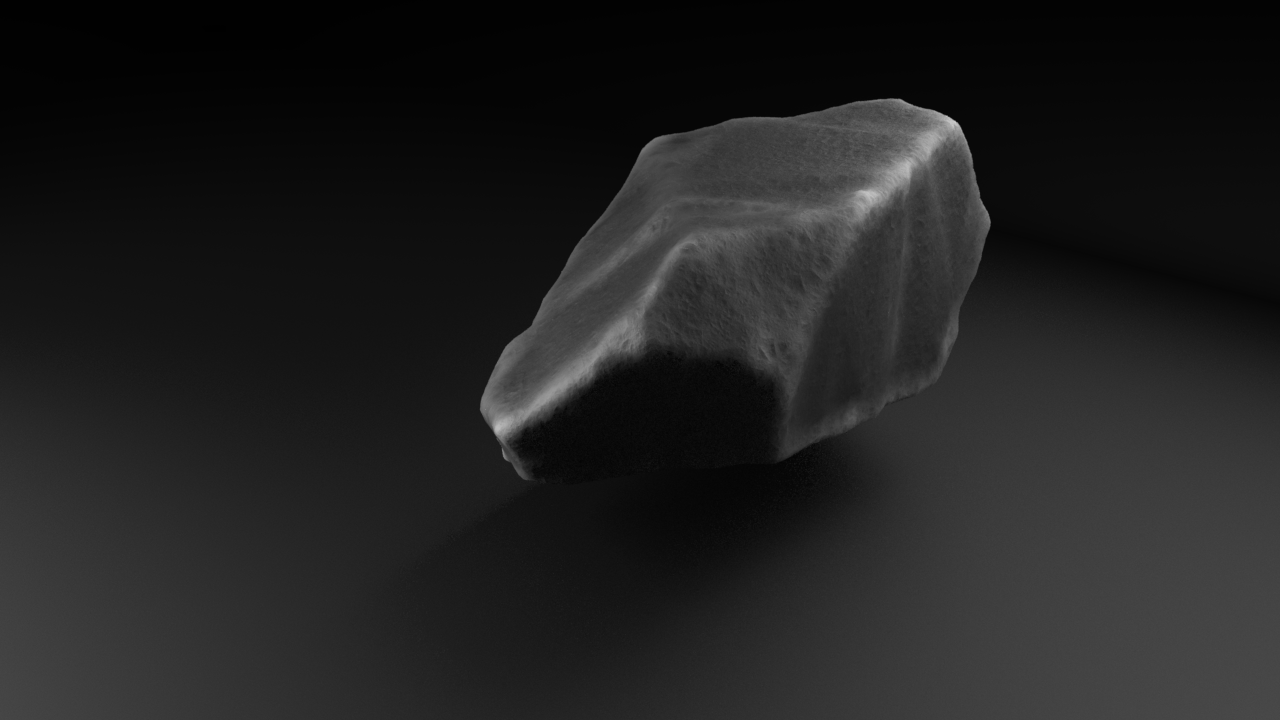
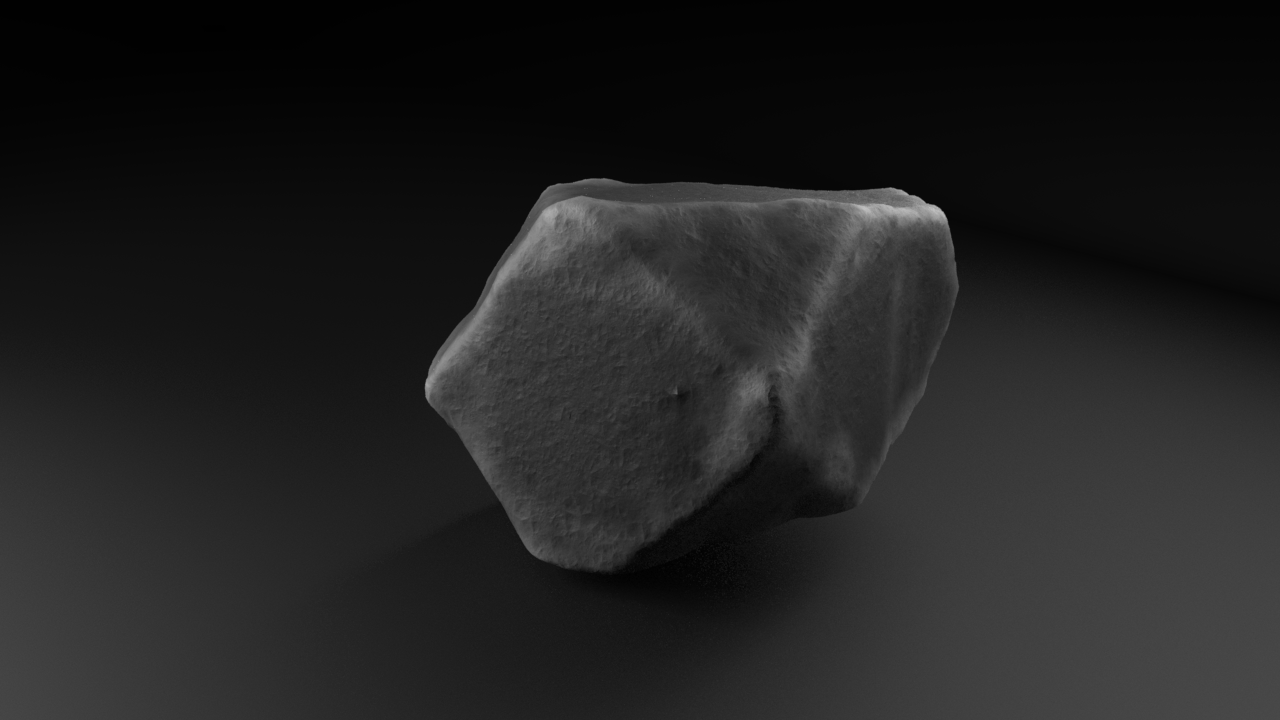
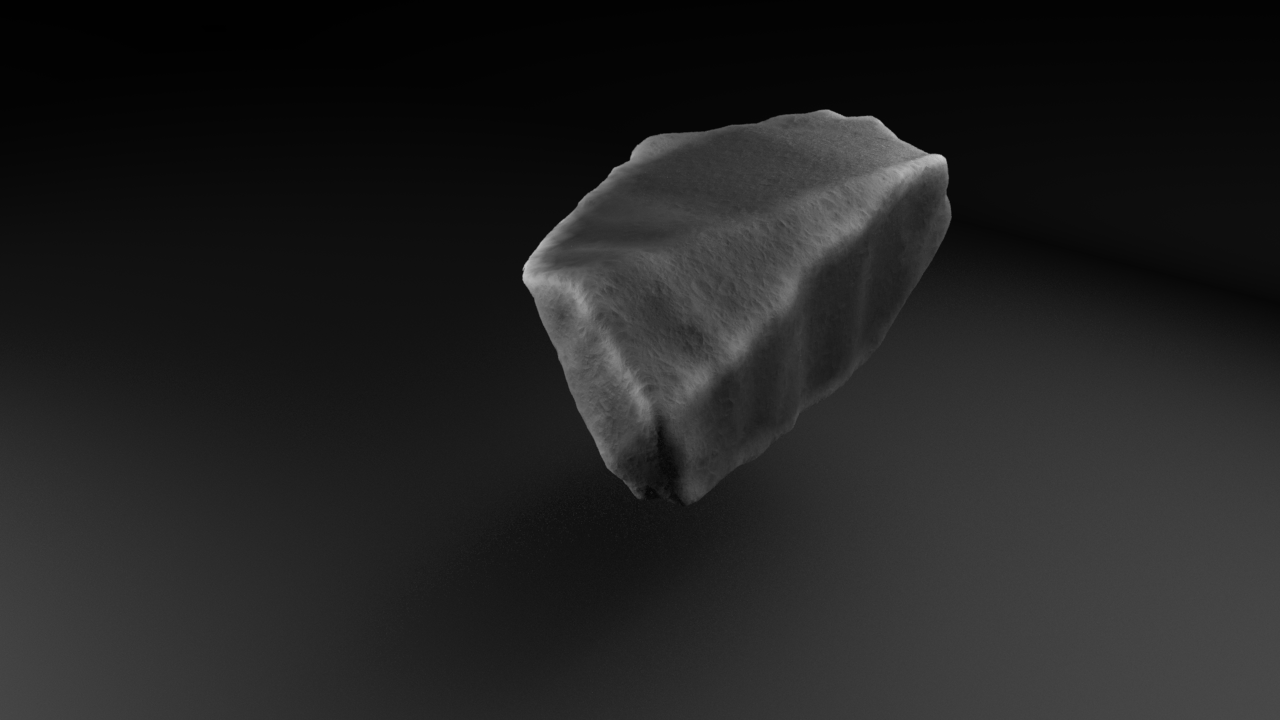
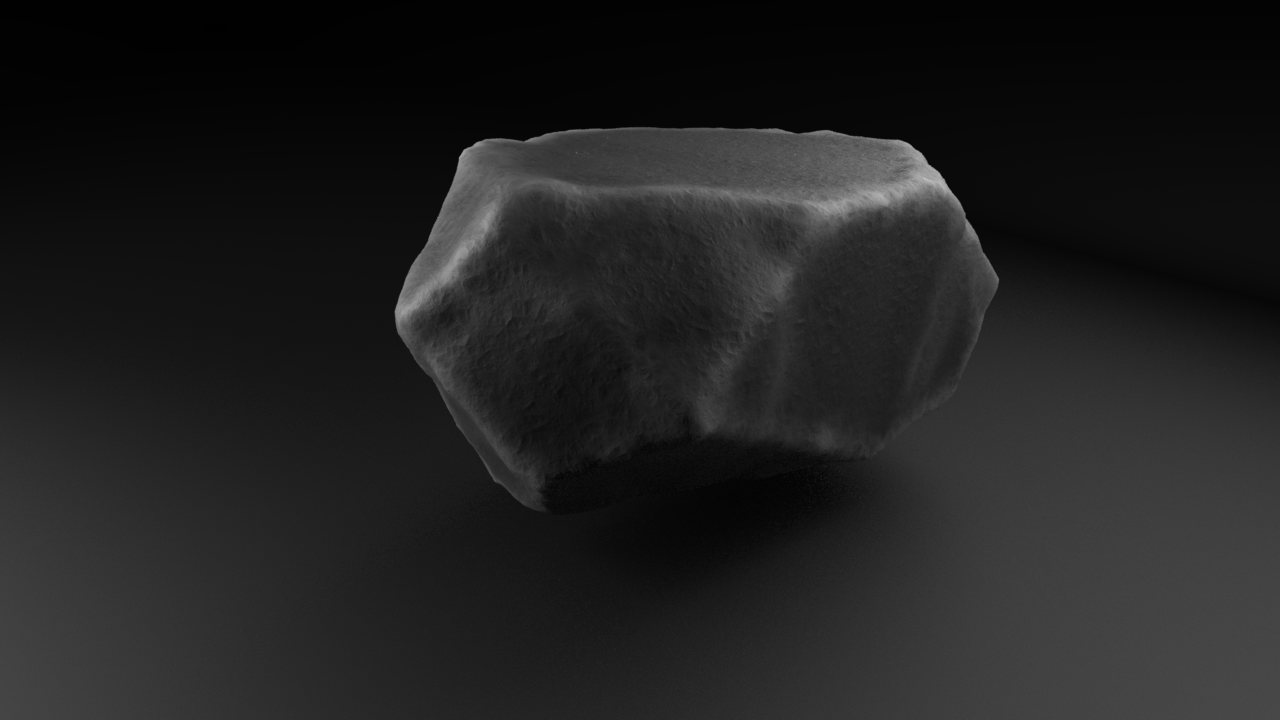
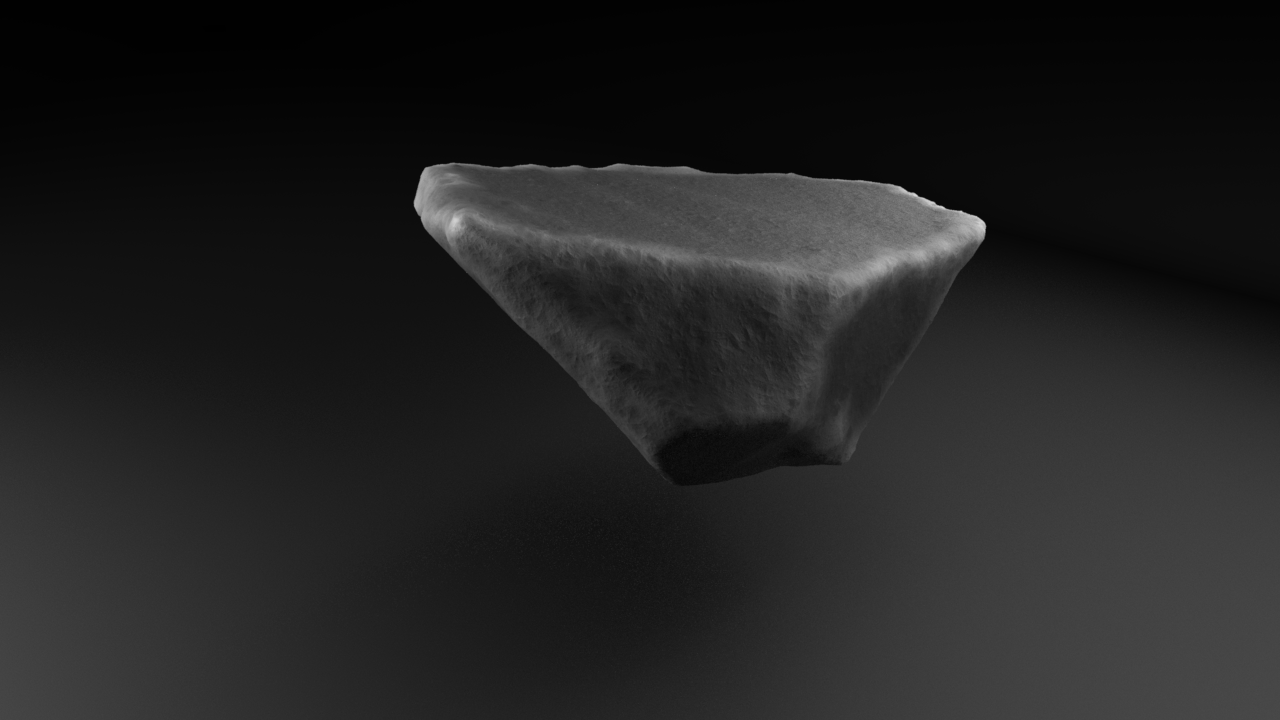
With this tool I can generate an infinite amount of variation. These are some samples:
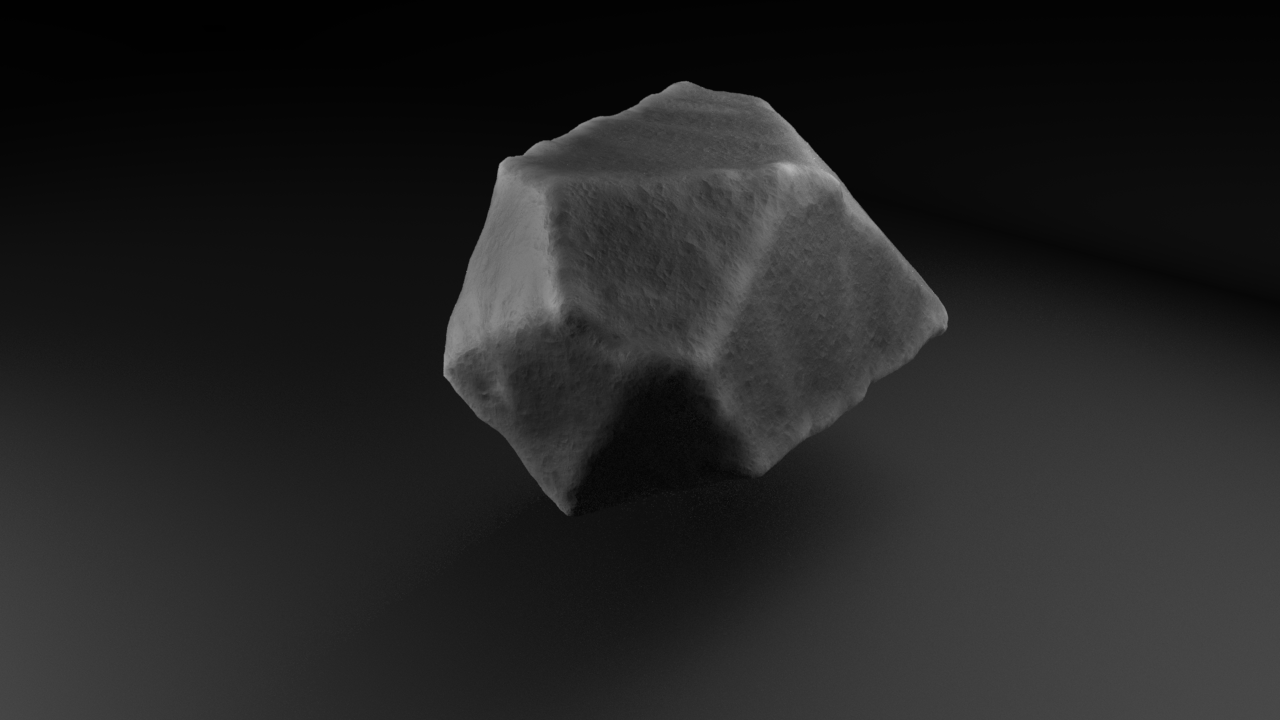
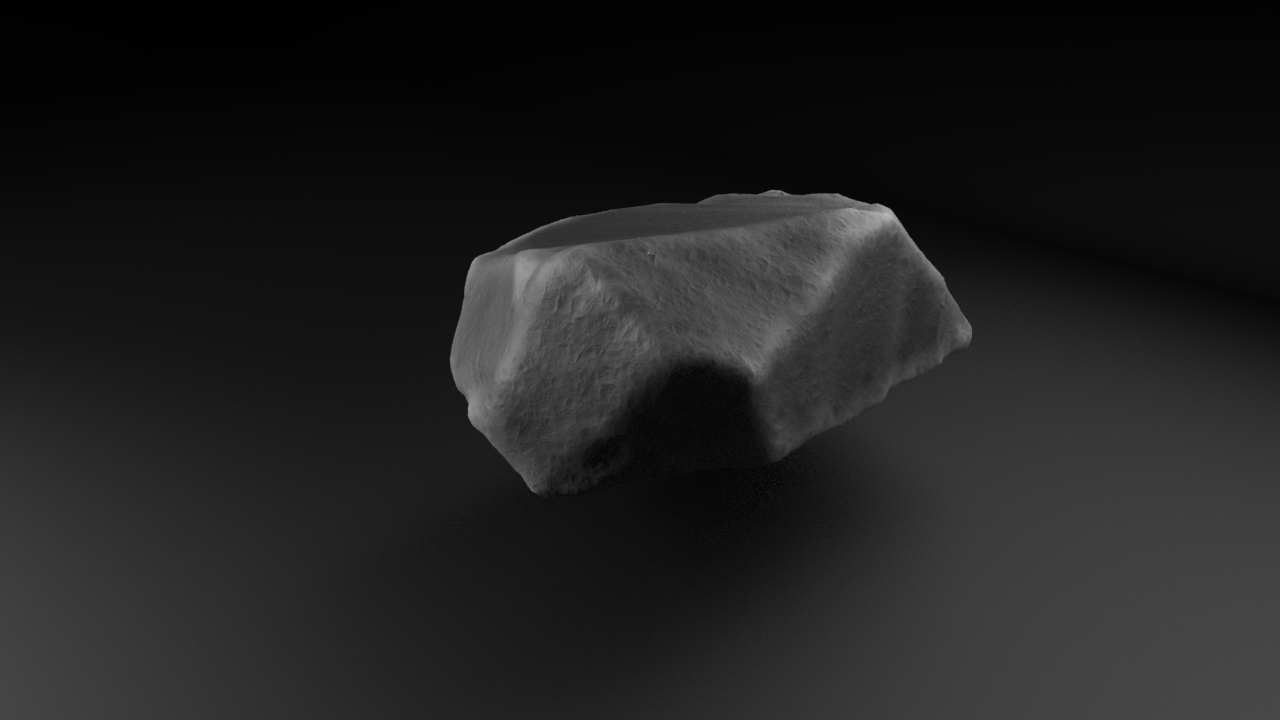
“What is this voodoo magic you ask?” Well, as I said, it’s the power of parametrization, proceduralism and pseudo random numbers (whithin Houdini, in this case). Let me walk you through it.
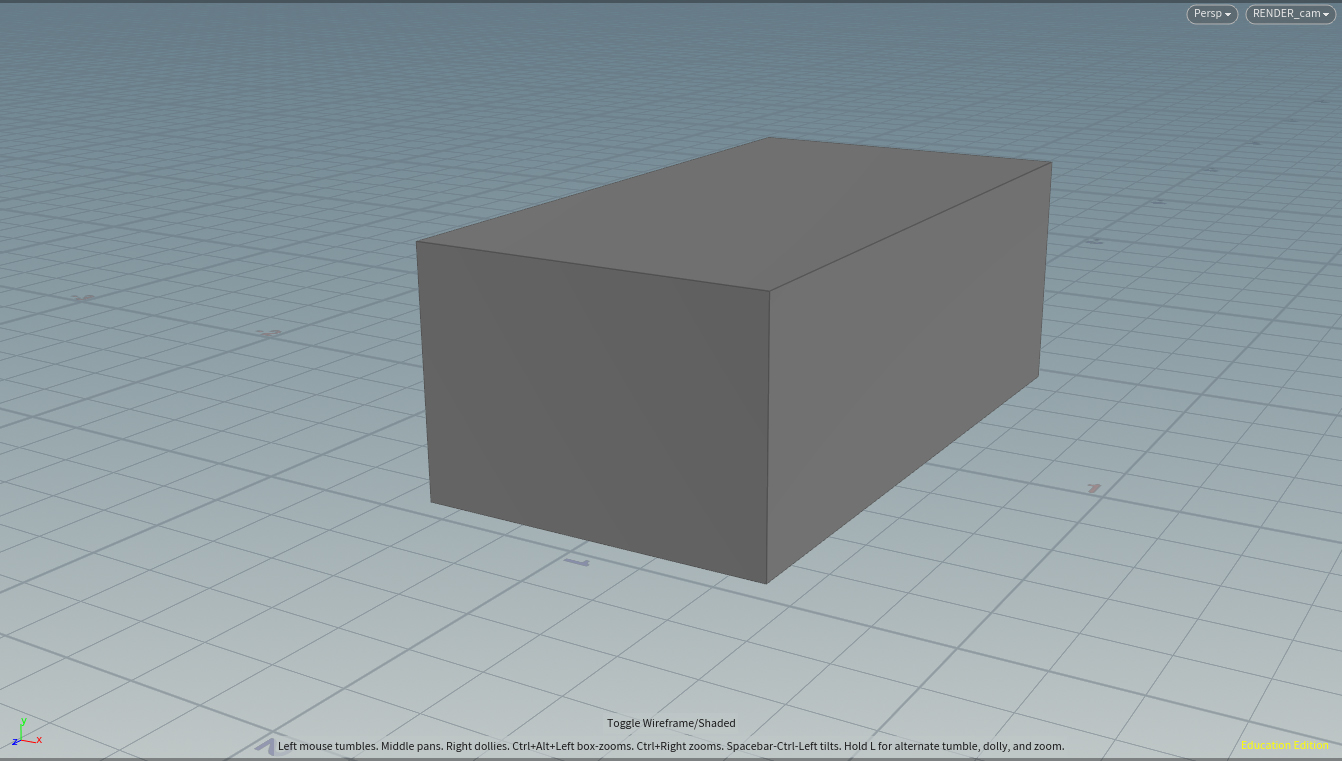
First I started with a rectangular box…
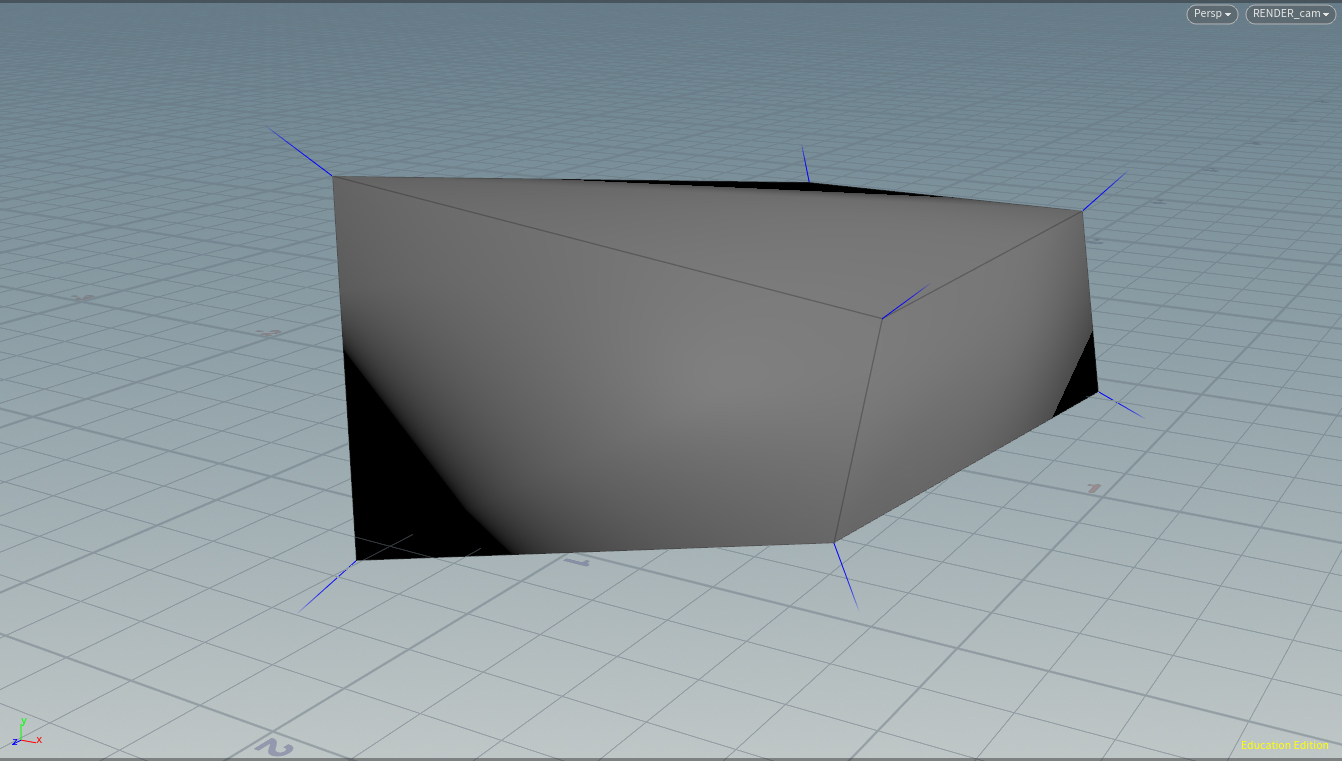
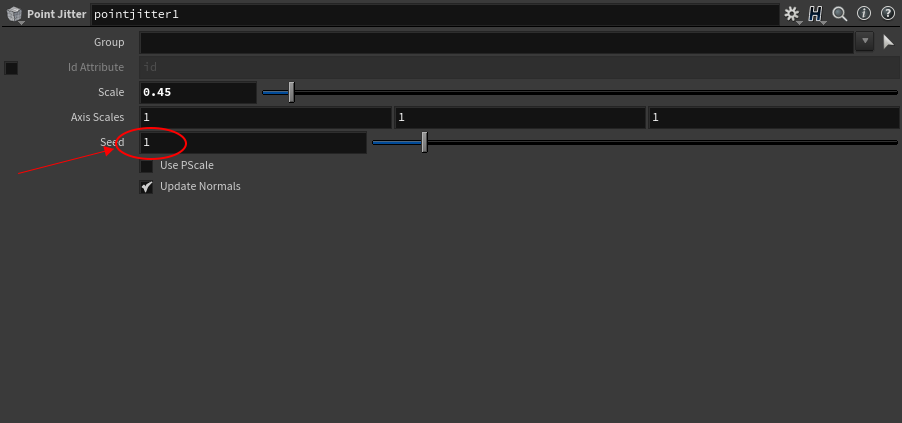
Then I used a “Point Jitter” node to randomize the corners a little…
This node is super important in the making of this tool. It is actually the one that will drive the variation of the pebbles. You’ll see what I mean at the end.

Added point normals to it…
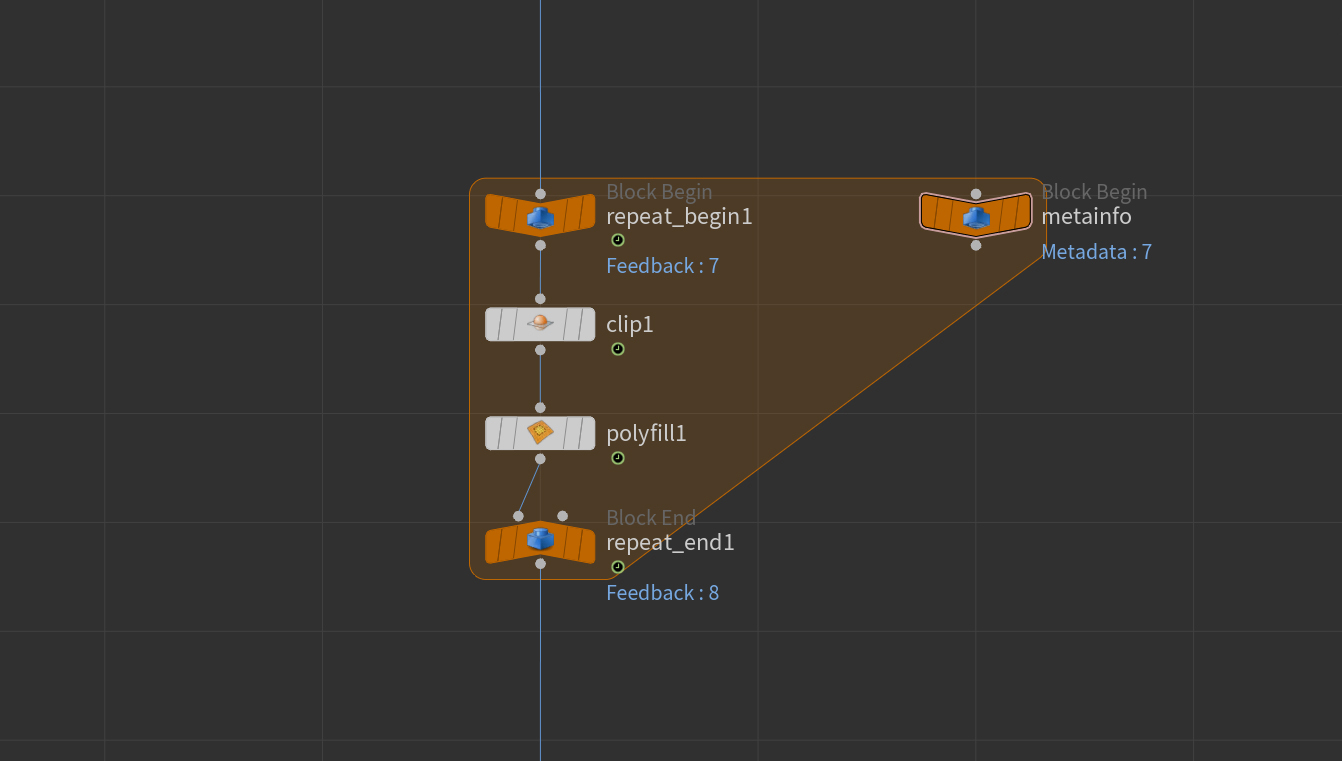
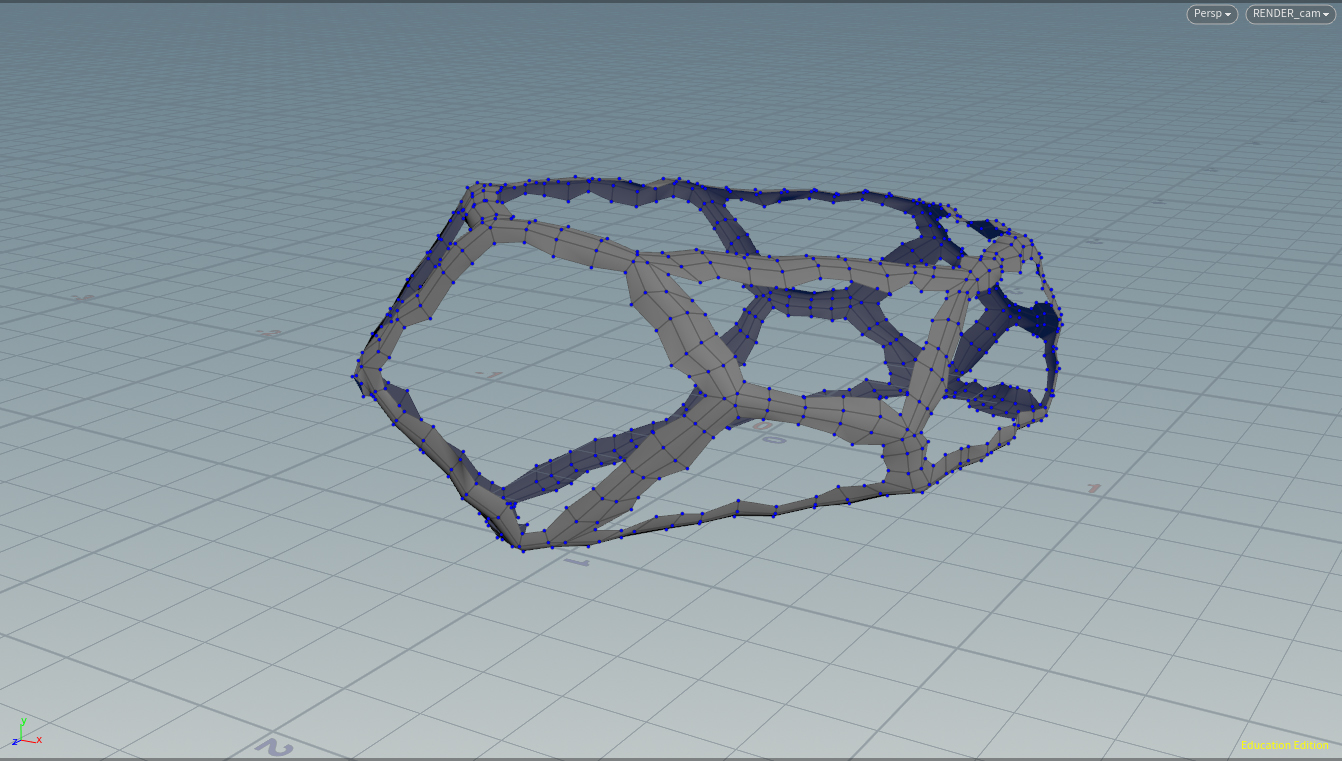
In a For-Loop with Feedback
In it, I appended a “clip” and a “poly fill” nodes. The clipping of the geometry was be snapped to each point as its origin and used the point normal to orient itself. Then the poly fill capped the previously clipped segments.
I resampled the geo to add more points along the edges. Then I fused them…
Then I added a randomized “pscale” attribute and beveled itsedges by it…
Deleted the ngons and poly capped the holes to get subdivisions…
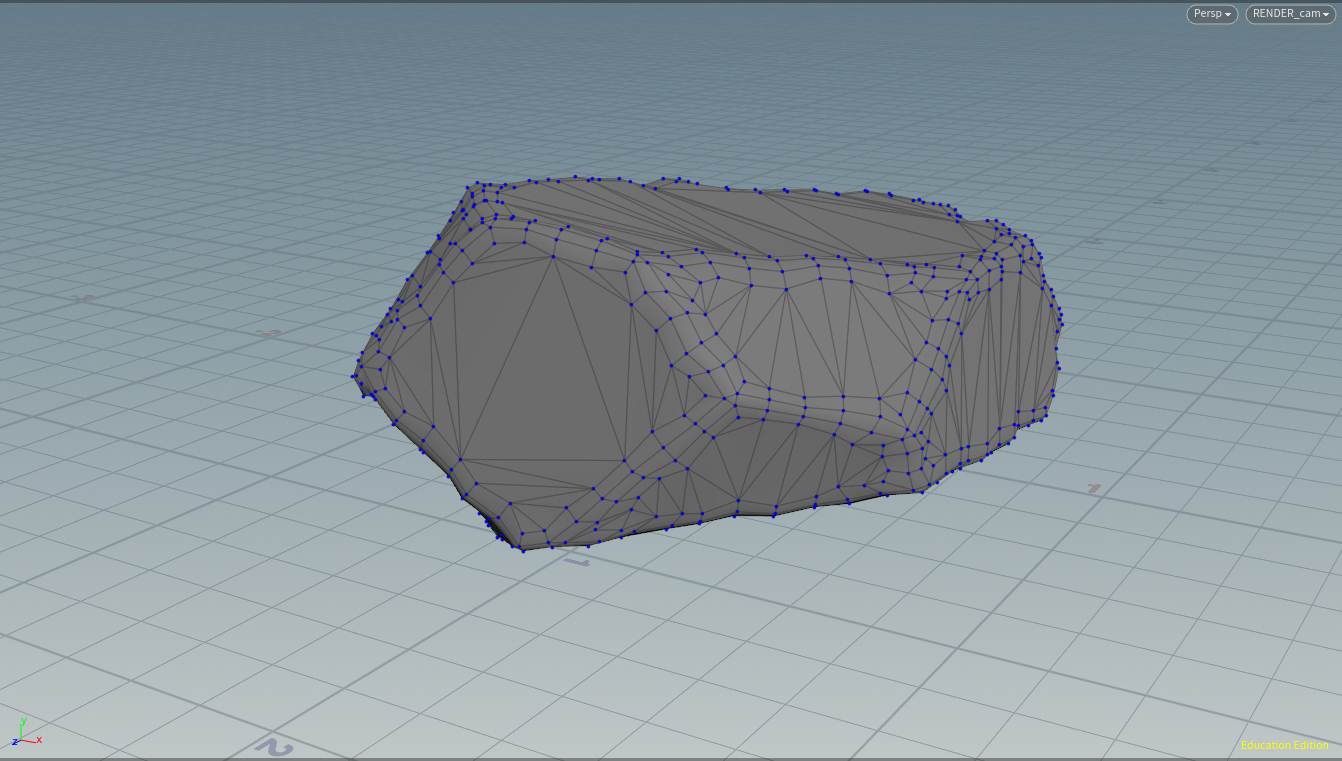
Then, I converted it to a VDB…
Then converted it back to geometry…

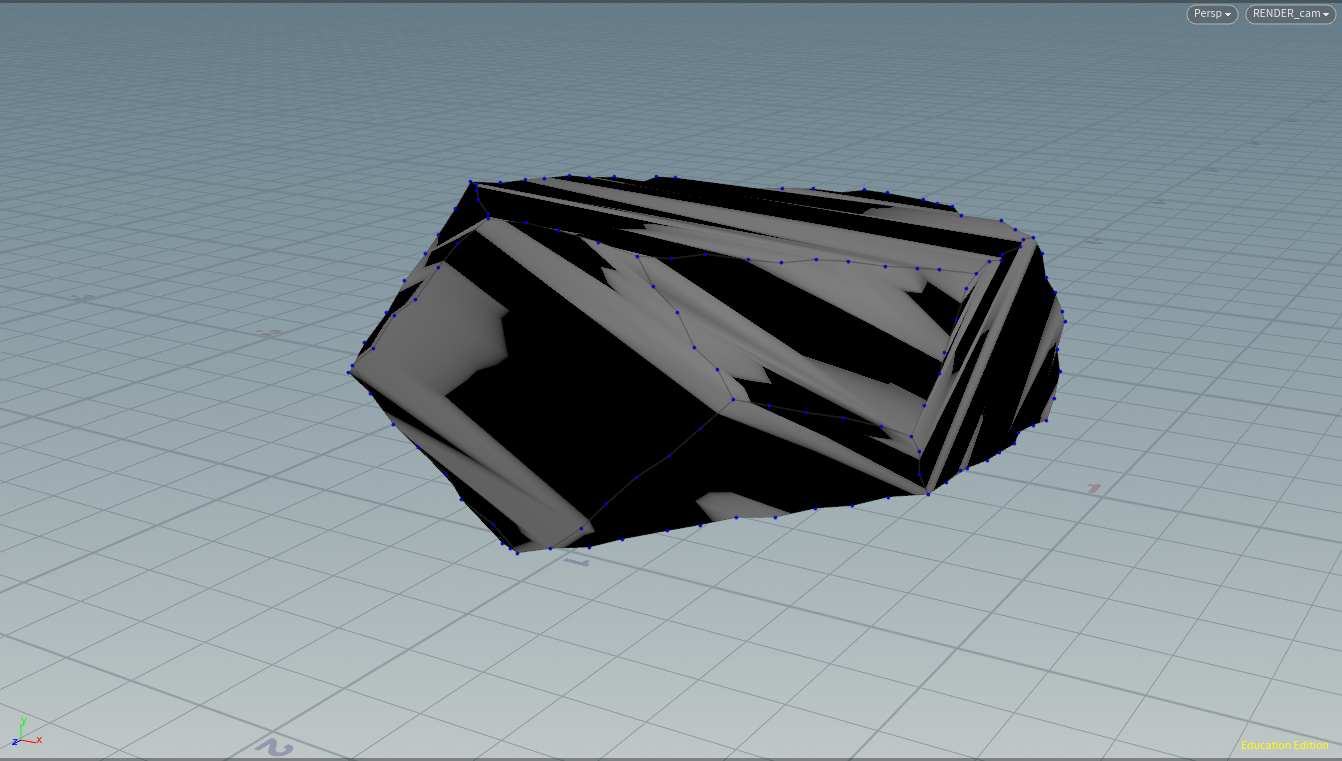
Calculated curvature to take wear into account later on…
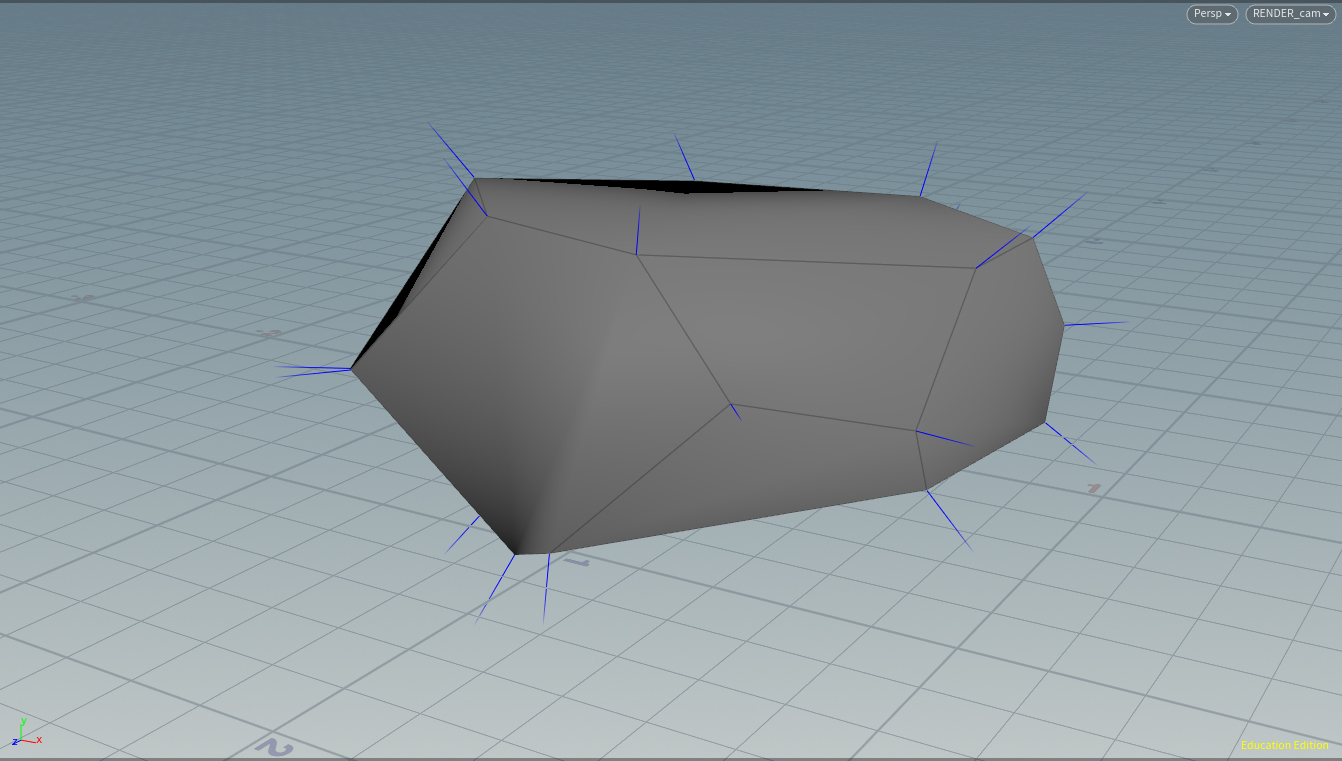
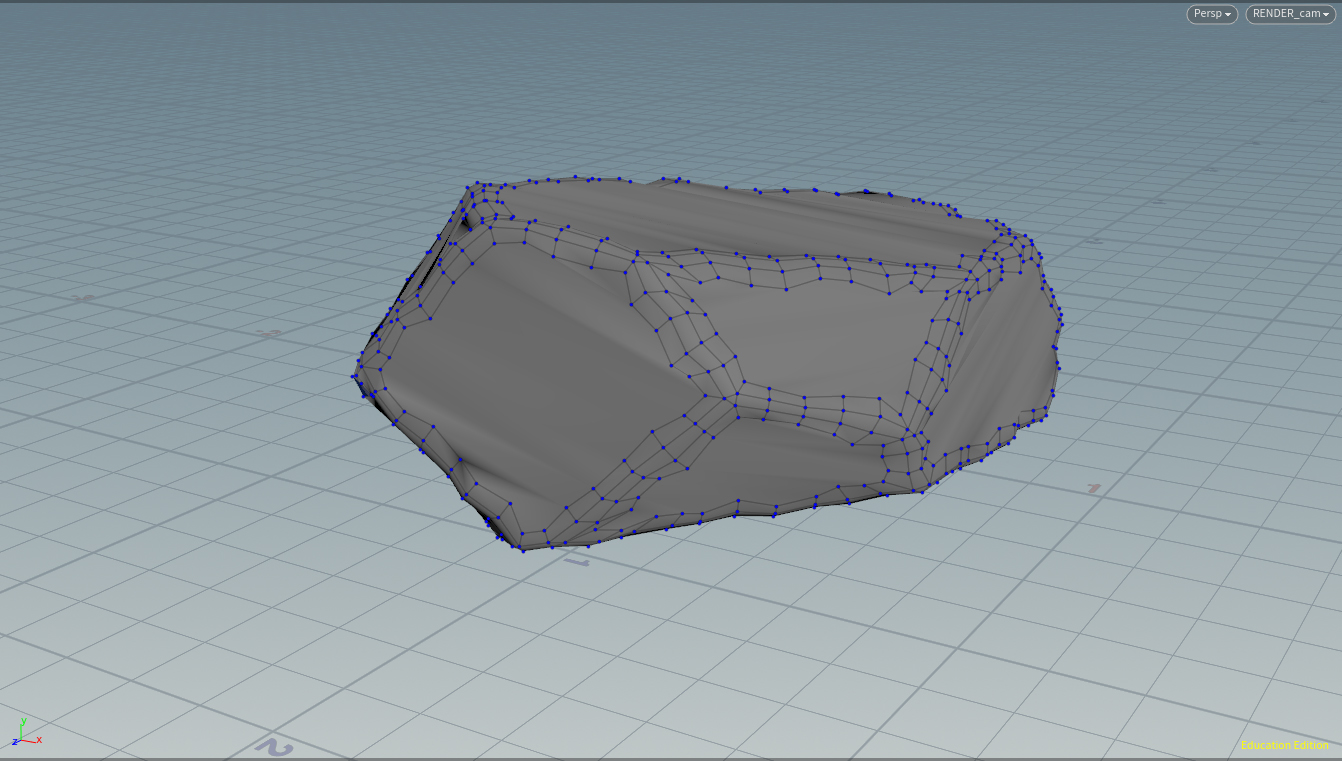
Remeshed and reduced the topology…

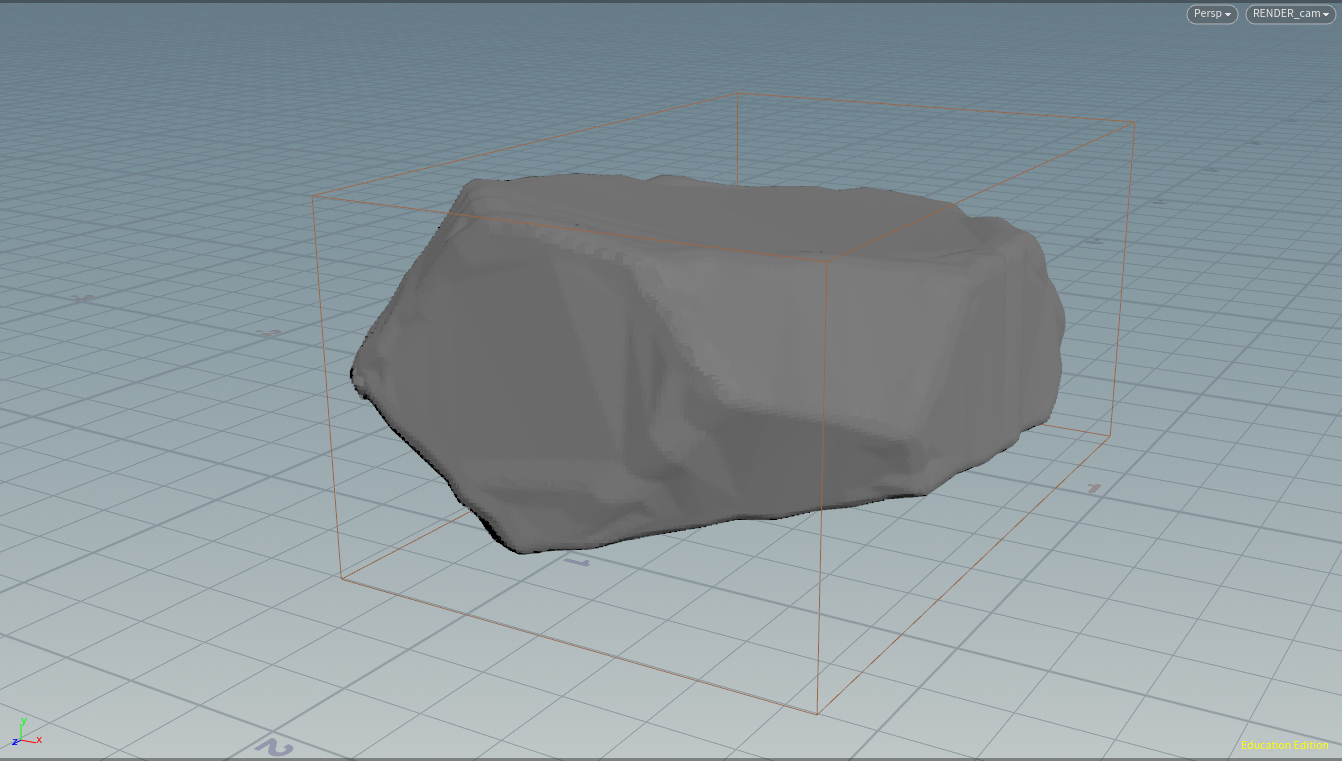
Done!
Remember how I said the “point jitter” node was gonna play a big role in the making of this? Well, if you check the parameters of the node, there’s one called “seed”. If you change the seed from default to ANY other number. You’ll get a totally different pebble based on the procedural design you made.
“How do you actually GET the geo back?” You ask. Well , I’m glad you asked! You can, for example, drive this seed by frame ($F or @Frame) and write out the geometry using a “file cache’ node, then read it into Houdini again to be manipulated however you like.
Clearly you could create external controllers for this, make this into a digital asset, etc. But for now.
Now these pebbles are ready to be used as an RBD or to be shaded (procedurally, preferably; by using the attributes generated in its construction. One that’s pretty useful is curvature).
Anyway, that’s it. And again, thanks to this construction, it is possible to have infinite variations of pebbles. You’ll be seeing some of those in later posts once I start making the R. and D. of shot one more cohesive and presentable. I hope this explanation was somewhat clear to you. If not, feel free to reach out or if you’d like to know more.
Until next post!