Concept Development
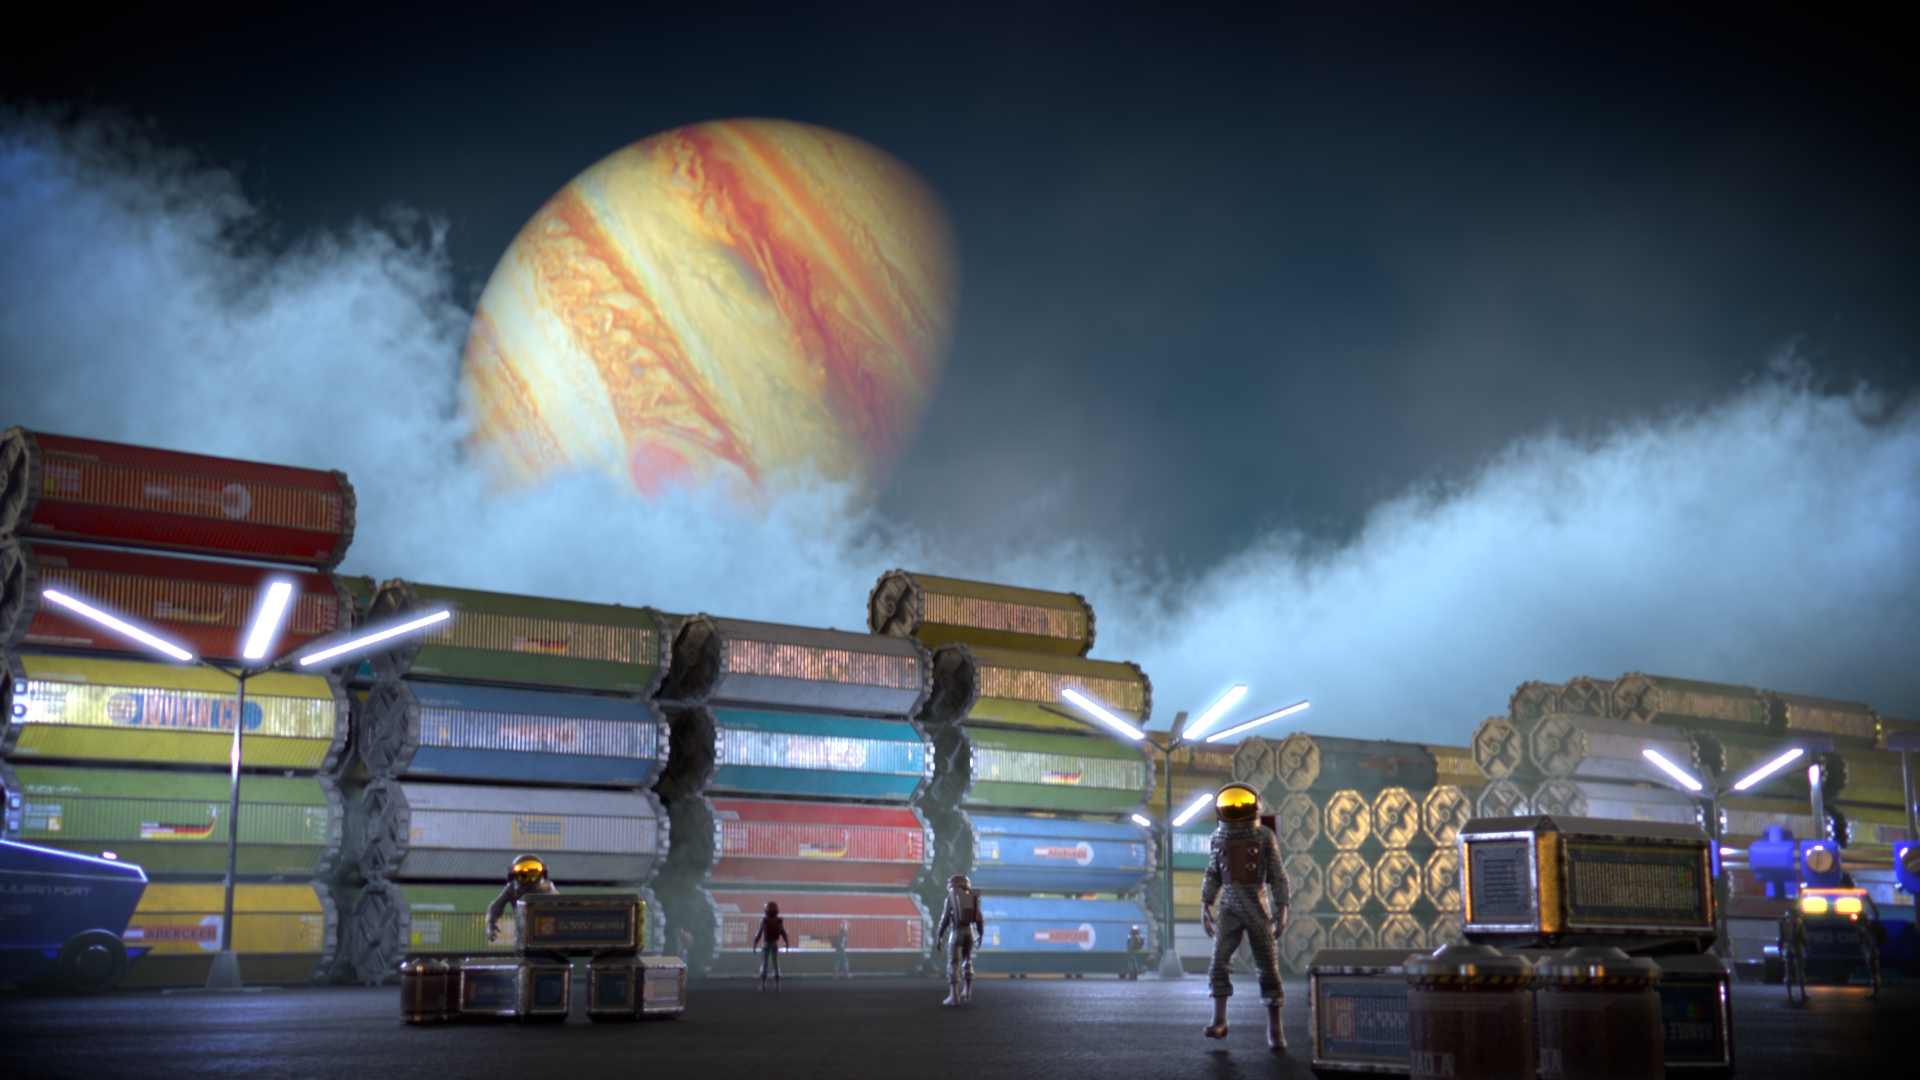
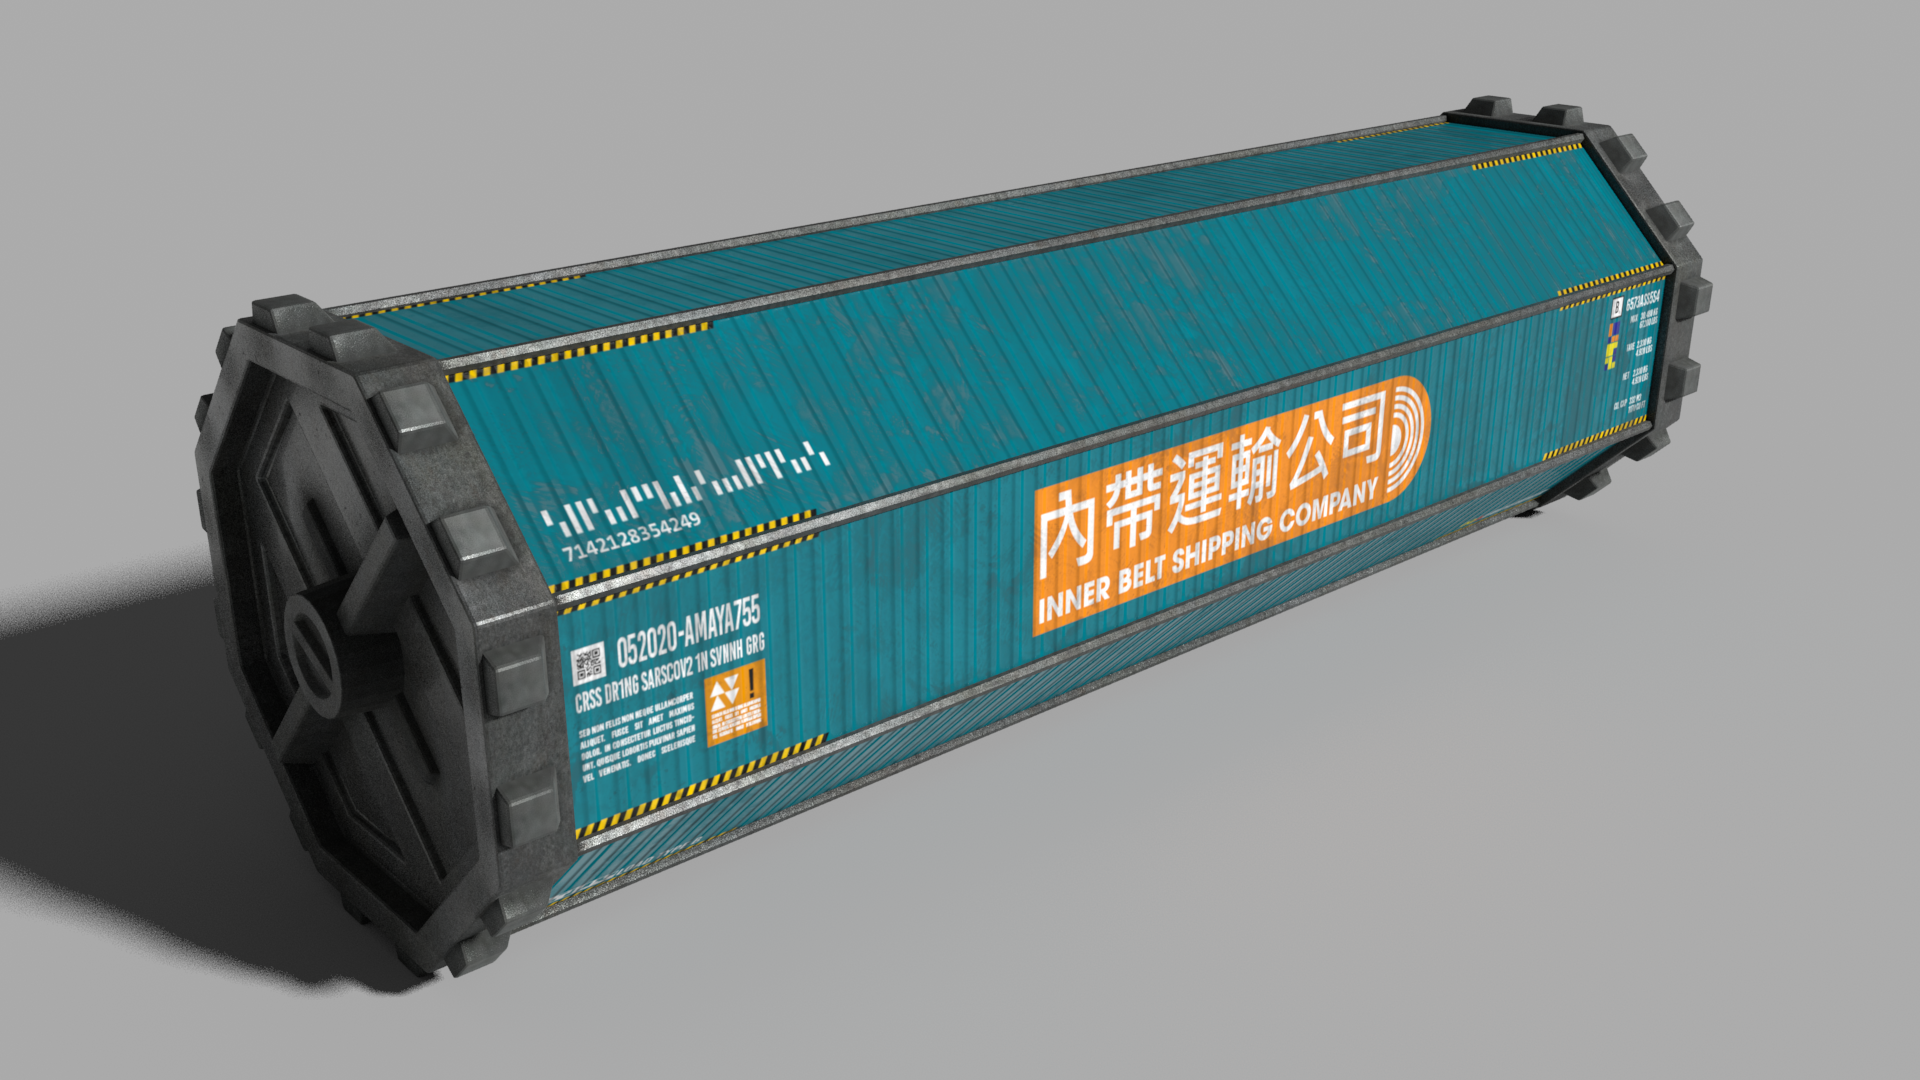
The original task mentioned the use of shipping containers. Later on, during the course it was permitted to change the concept to any other creative way of showcasing this utility. The idea of the shipping containers stuck in my mind, so I decided to go with it, but with a twist. I wanted to make some sort of space port. The sci-fi nerd in me thought that I could pull off something interesting with these concepts.
Procedural Modeling
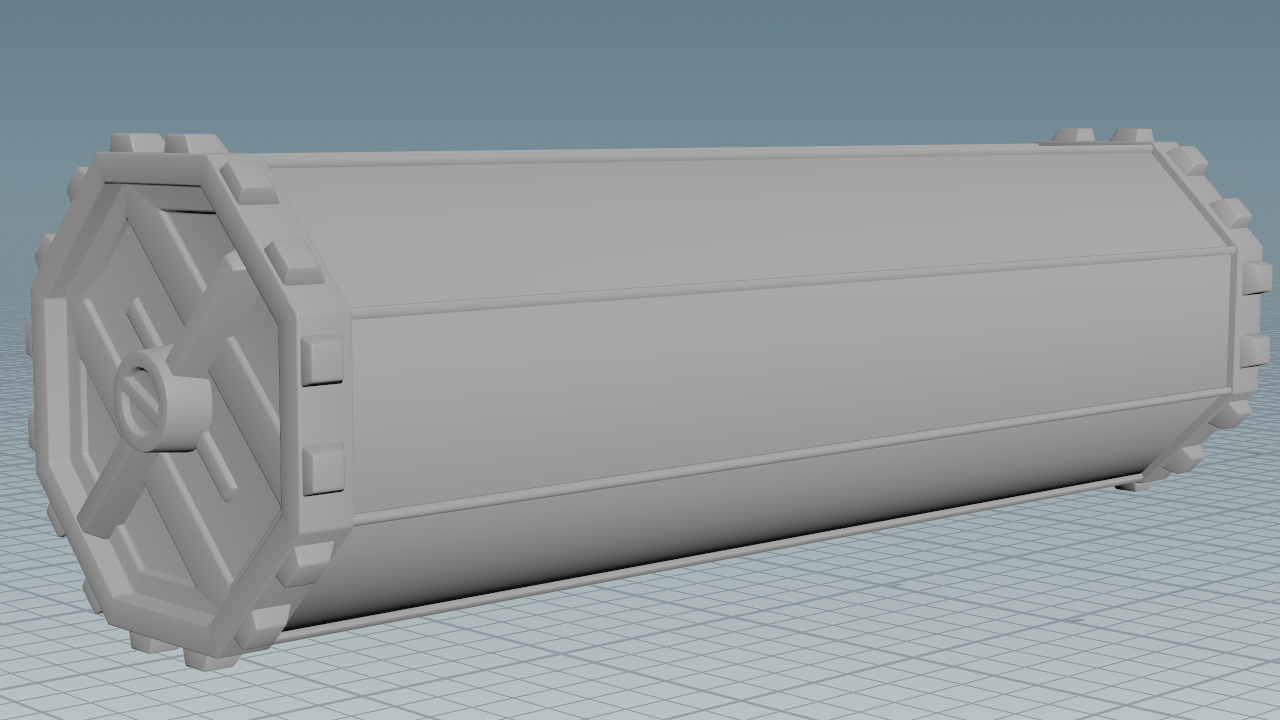
I always want to keep pushing my grasp on proceduralism. So, with the excuse of this assignment, I started modeling the shipping container procedurally within Houdini. Since the idea was to feature many of them, I decided early on the development that I was going to keep everything fairly simple and low poly. Every object was going to be seen pretty small in the scene anyway.
The resulting model is very simple, but it was perfect for the goal. Also, funnily enough, I started with a hexagon and then decided to make it an octagon, thanks to procedural modeling, I just had to change the number of sides of the original geo, and magically it adapted itself. Proceduralism is awesome!
Prototyping Textures
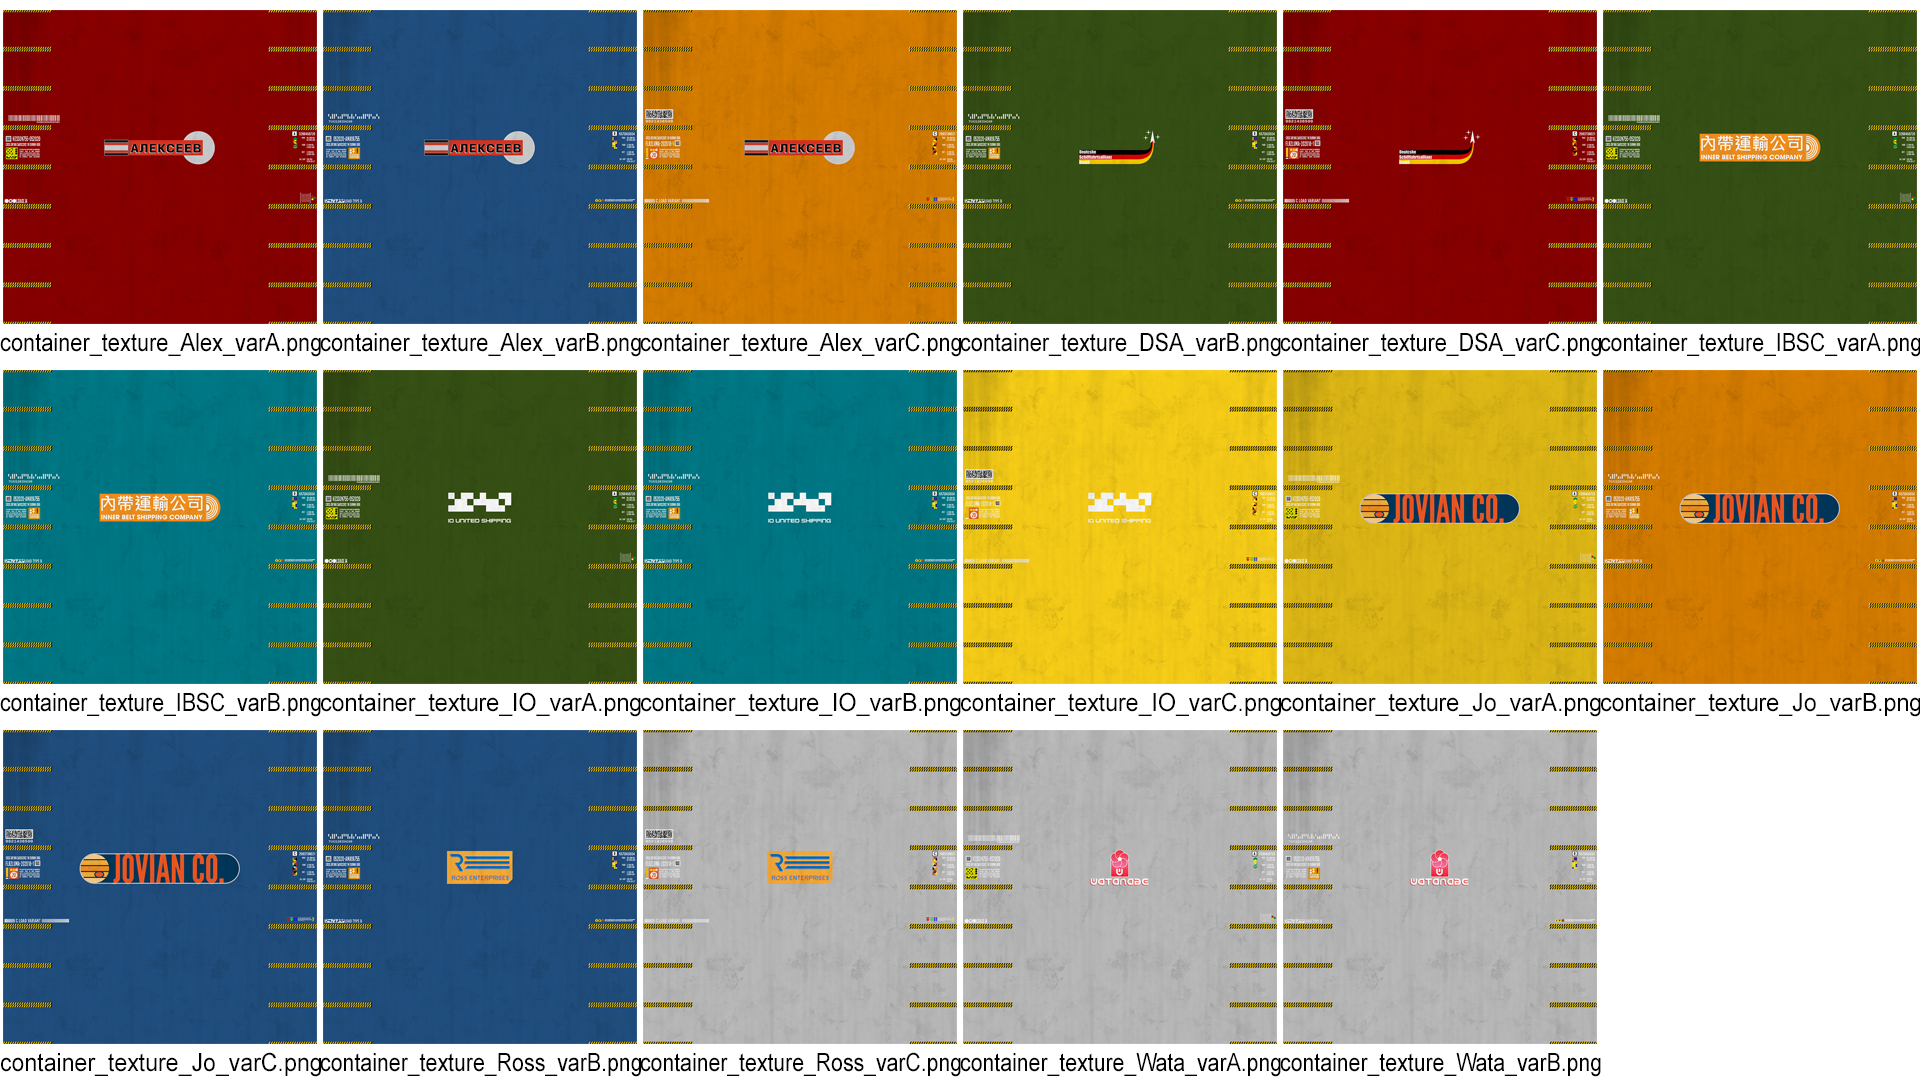
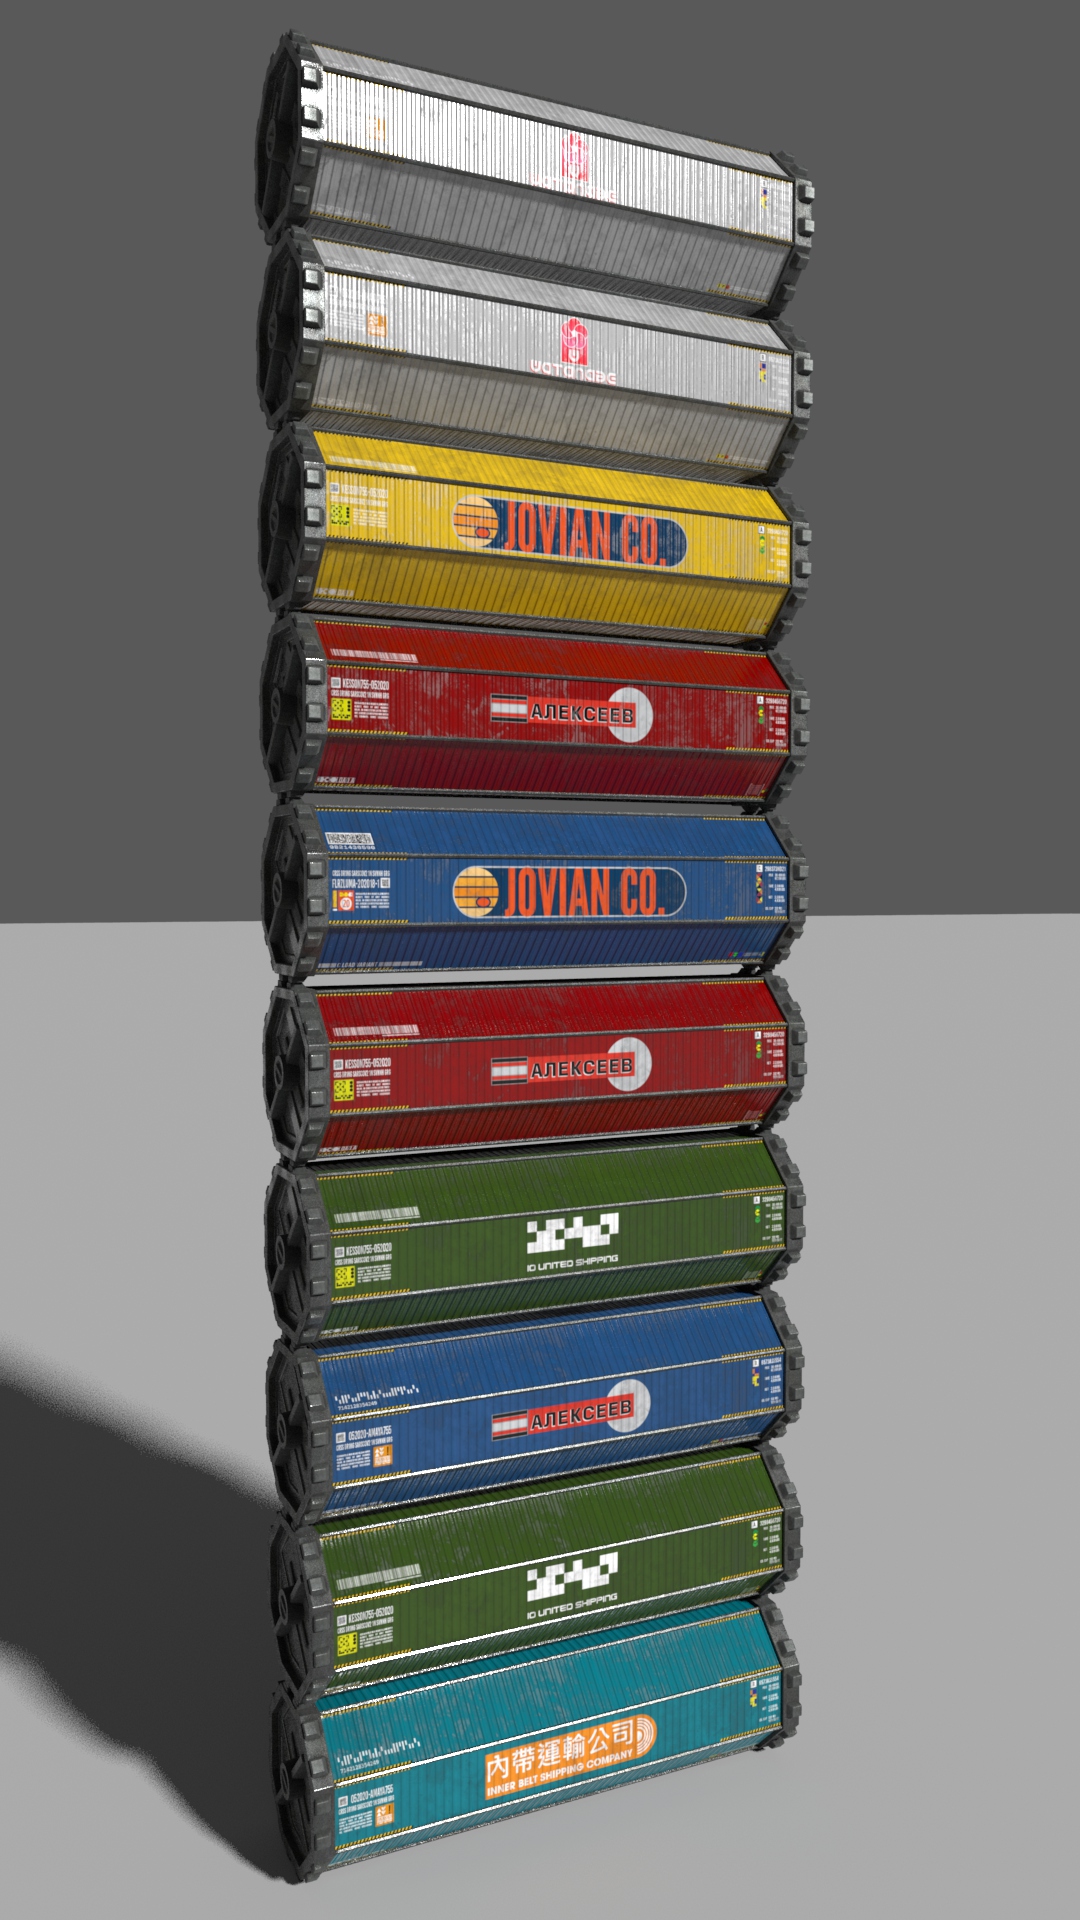
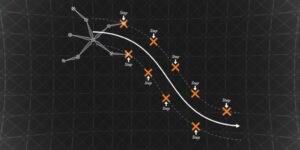
Variation was key for this project. On top of this, I wanted to make rich and believable textures for my shipping containers so the designer in me came up with 7 different imaginary shipping companies and made different logos for them.
Scene and Look Development
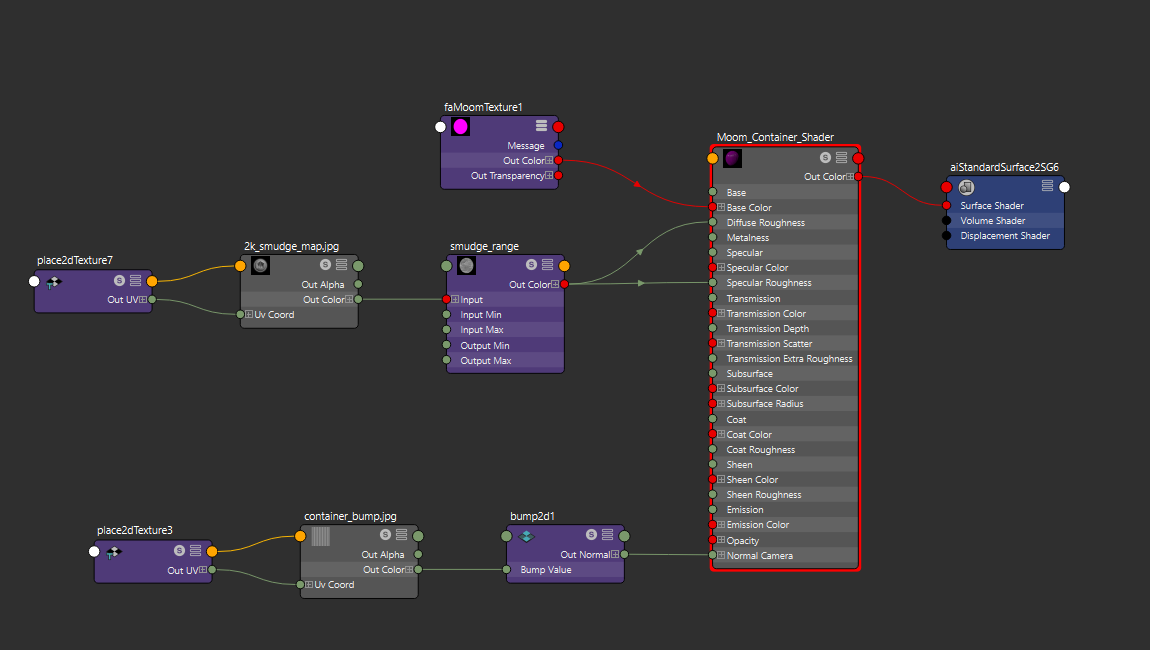
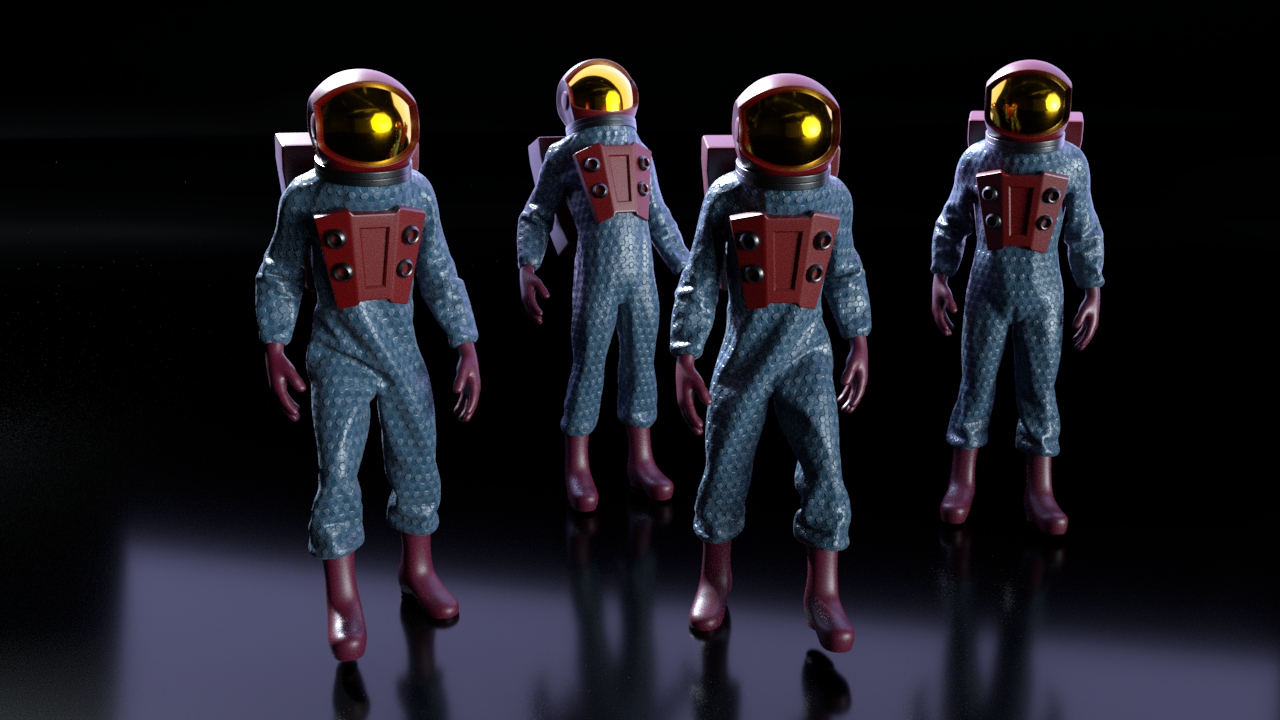
Now it was time to work on the overall general look of the containers. I used 2 ai Standard Shaders for them. One for the paint, one for the metallic parts. Clearly the paint job was going to be driven by the MOOM utility, but it needed additional details like a smudge/dirt map for controlling the specularity as well as a bump texture for the ridges of the surface.
Time to Implement the MOOM utility
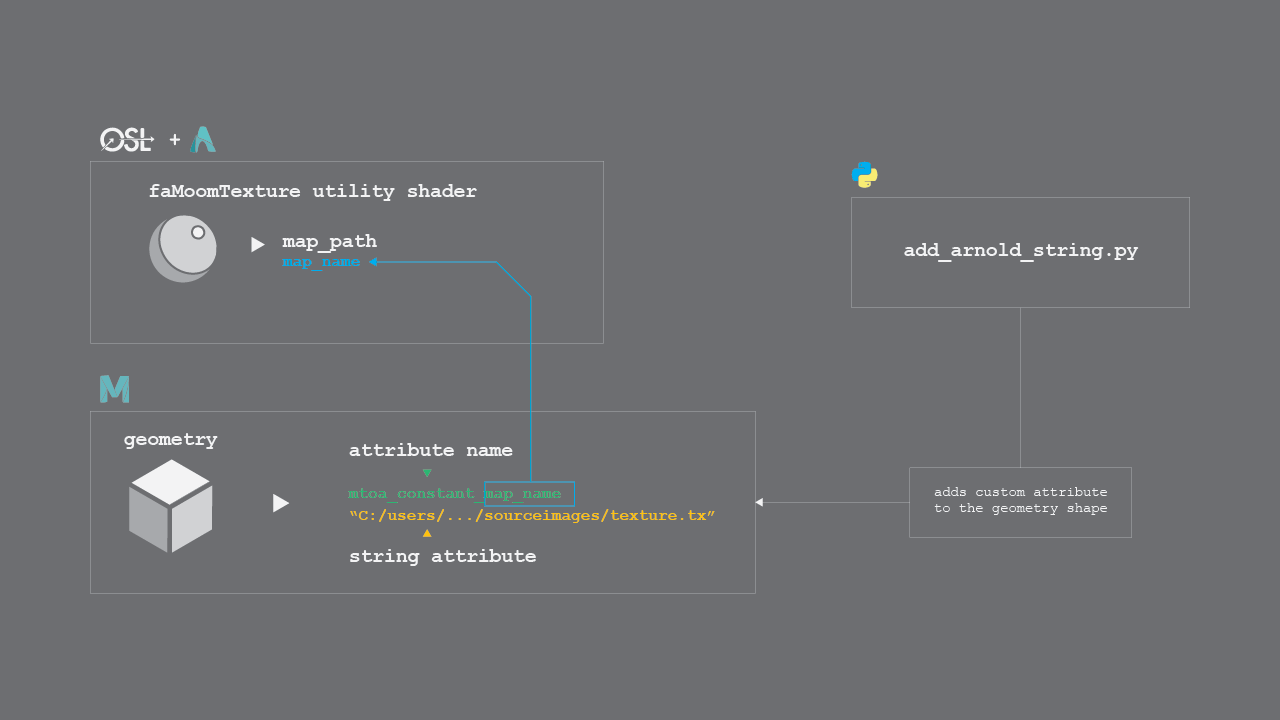
The way this version of a MOOM shading utility is implemented is as it follows:
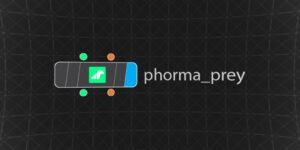
Arnold has a handy feature that allows it to read custom user data at render time. It is possible to take advantage of it to shade multiple objects with one material. In this particular case, by the use of a custom python script, it’s feasable to randomly add texture map paths to multiple individual elements (this attribute is added to the shape node of the object) to shade them differently using the same material (see graph below). Parallel to this, an OSL script is needed to read each individual path from the geometry shape. Finally to make it all render, the OSL utility is plugged to any input of an Arnold shader to use the texture paths to shade and render.
faMoomTexture.osl
					shader
faMoomTexture(
                string mappath="",
                color missingAttrColor = color(1,0,1),
                int linearize = 0
                [[
                string widget = "boolean"
                ]],
                float gamma = 2.2,
                int flipV = 0    [[
                string widget = "boolean"
                ]],
                output color resultRGB = 0)
{

string pathvalue;
if(getattribute(mappath, pathvalue) == 1) {

    resultRGB = texture(pathvalue, u, v);
    if(linearize == 1) {
        resultRGB[0] = pow(resultRGB[0], gamma);
        resultRGB[1] = pow(resultRGB[1], gamma);
        resultRGB[2] = pow(resultRGB[2], gamma);
    }
    if(flipV == 1) {
    resultRGB = texture(pathvalue, u, 1-v);
    }
    else resultRGB = resultRGB;
}
else
    resultRGB = missingAttrColor;

}
add_arnold_string.py
add_arnold_string.py
					import maya.cmds as cmds
from random import uniform, choice

def add_string(attrname, paths):

    attrname = 'mtoa_constant_' + attrname
    shapes = []
    selections = cmds.ls(sl=True)
    for sel in selections:
        shapes = cmds.listRelatives(sel, shapes=True)
        # sel in a group
        if shapes == None:
            transforms = cmds.listRelatives(sel, children=True)
            shapes = []
            for tran in transforms:
                shapes.extend(cmds.listRelatives(tran,shapes=True))

        if len(shapes) == 0 or len(shapes[0]) == 0:
            print('Cannot find a shape to add attribute')
            continue
        for shape in shapes:
            if cmds.attributeQuery(attrname, node= shape, exists=True) == False:
                cmds.addAttr(shape, ln=attrname, sn=attrname, nn=attrname, dt="string")

            path= choice(paths)
            cmds.setAttr(shape + '.' + attrname, path, type ="string")
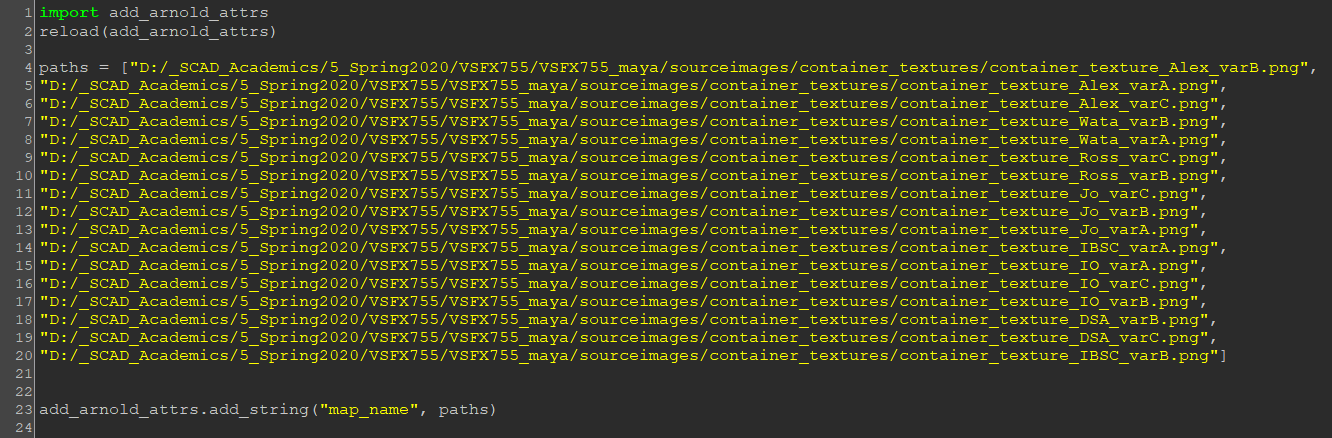
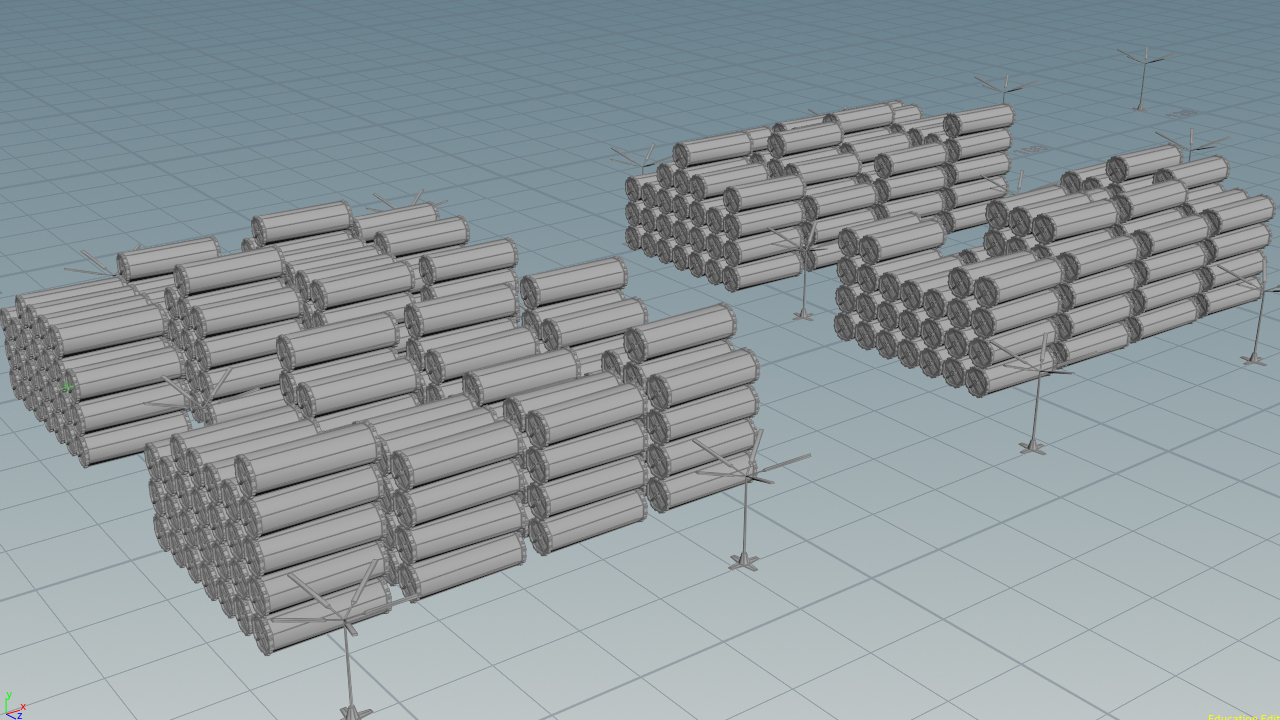
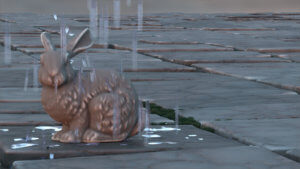
Running the Python script in Maya on my container geometry (see image below) created a custom attribute with the path to one of the 17 textures on each of the shapes.
In the Hypershade I created my custom MOOM utility and pointed it to the name of the custom attribute. Plugging the MOOM into Base color of an aiStandardSurface shades each individual object with one of the 17 texture maps in the diffuse.
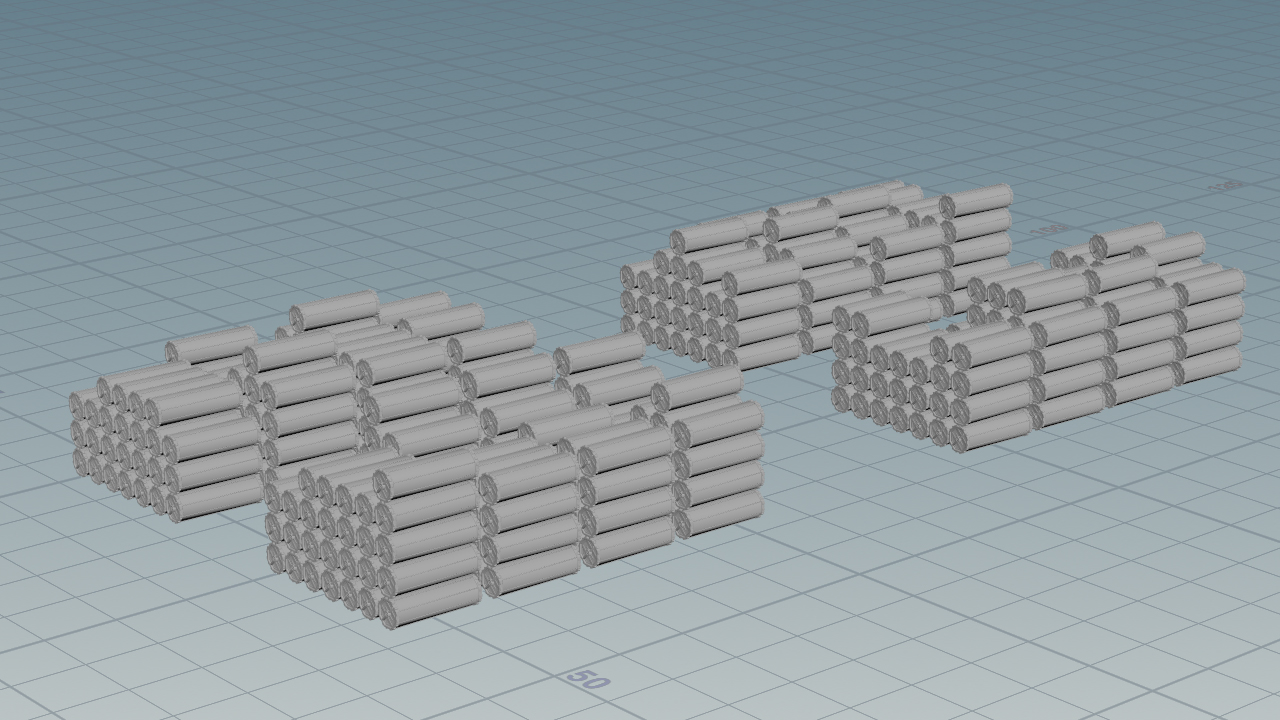
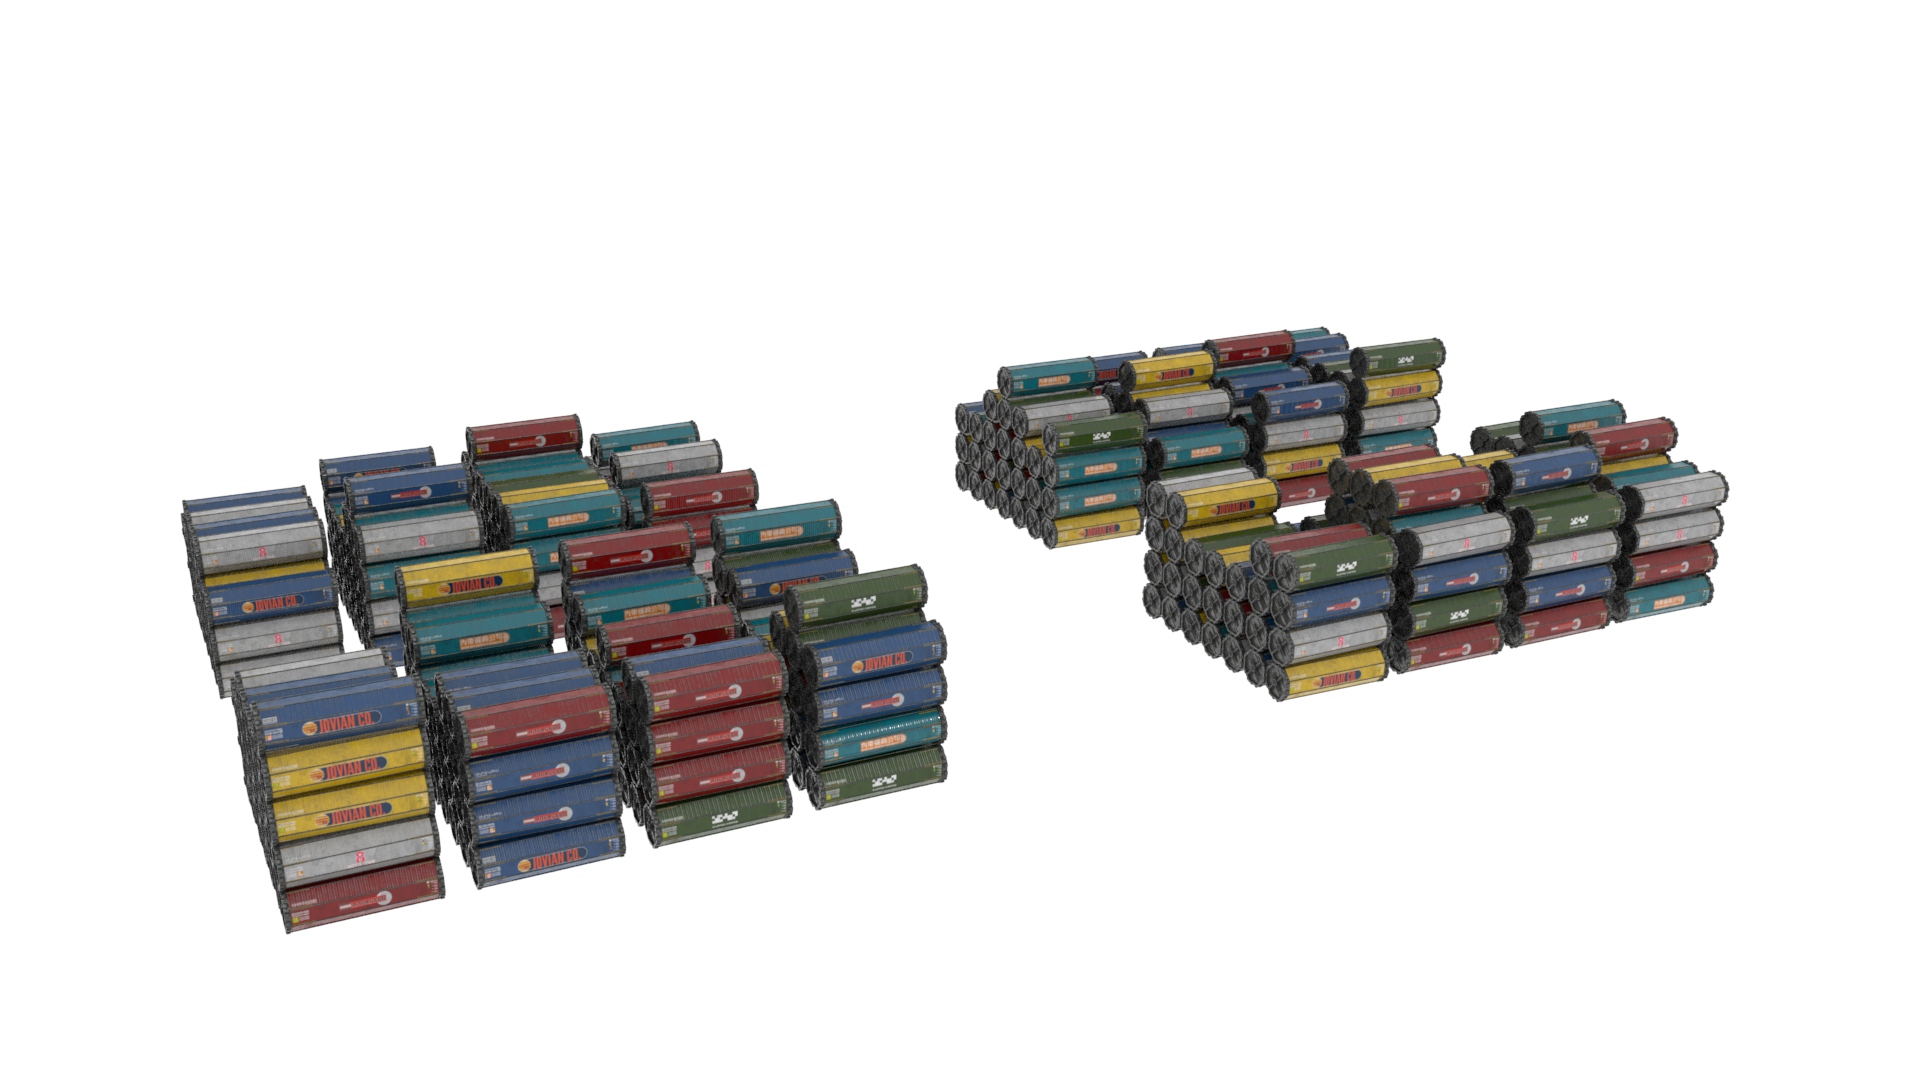
With this, no matter how many containers were put into the scene, once the code was run on them and the shader assigned to them, they would always randomly have a different texture map on them. Below, a test with a few of them.
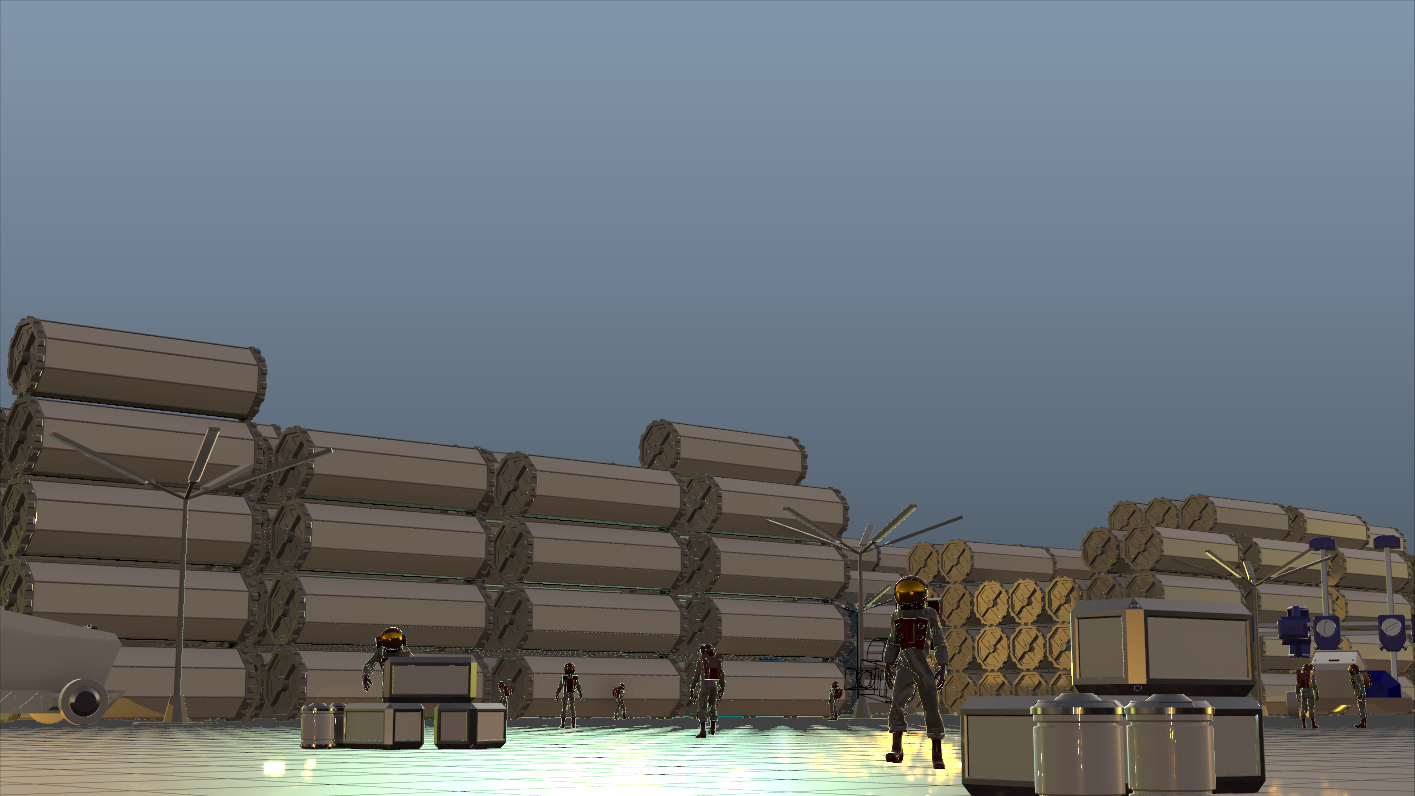
Rendering and Compositing
With the scene in place and lit, I went on and rendered it using some layers and the regular AOVs (direct, indirect; diffuse, specular etc…) to have control over the composition. This proved crucial when dealing with the background sky and fog volumes. Next a simplified breakdown showcasing the passes and compositing step for the project.
Conclusion
OSL and Python combined create an endless amount of creative solutions for shading and rendering obstacles. They open endless possibilities to work around each 3D package’s and rendering engines limitations. However getting to a production valuable point as a competent artist wrangling this kind of solutions can be quite the challenge. It is necessary not only to think creatively, but also have a fairly comprehensive scripting knowledge. I hope to expand my logical thinking and expand my knowledge to overcome my gaps and limitations.
2 Responses
Interesting project!
Your wife was right!